
Written by LiccaApril 14, 2025
Pieces of a Pie : Circle Skirt Construction
Panel Slides . Tips and Tricks . Tutorials Article
I presented this panel at Ushicon 2025 in Austin, Texas. This panel covers the basics of sewing circle skirts. I wanted to emphasize some topics that are not mentioned in most instructional content regarding circle skirts, including:
- Why do sewing instructions tell you to hang your skirt overnight before hemming (hint, it’s not always necessary, but the instructions are written for the lowest denominator)
- Why do sewing instructions tell you to use French tacks for attaching the lining to fashion fabric on skirts (and how to violate that rule)
- How to make a topstitched circular hem easy to do by exploiting thread tension to do your work for you
- Finishing edges of circle skirts with satin stitches
- The importance of good measuring tools
- The importance of understanding math concepts to effectively design a circle skirt
 Title slide. This is the second version that I have presented at Ushicon 2025.
 This picture of Queen Elizabeth in her youth is a classic picture of her wearing a poodle skirt. A poodle skirt in the 1950s typically is a 1/2 circle wool skirt.
 You can approximate an A-line skirt with a 1/4 circle skirt. I actually prefer the 1/4 circle over the A-line because it allows me to create additional space within my buttocks.
 Many mass-manufactured skirts are made as gathered skirts because it causes a lot less fabric wastage. It is also easier to align fabric prints (notable for many J-fashion dresses).
 You want a less drapey fabric for the most part; it makes the skirt easier to make. (Fabrics that are flowy drape also tend to be unstable along the bias, which causes issues during hemming.)
 In this section, I review the needed math required to do one of these skirts. It is not possible to make a circle skirt without some math. I will be using mostly high-school geometry and middle school algebra for most of the presentation.
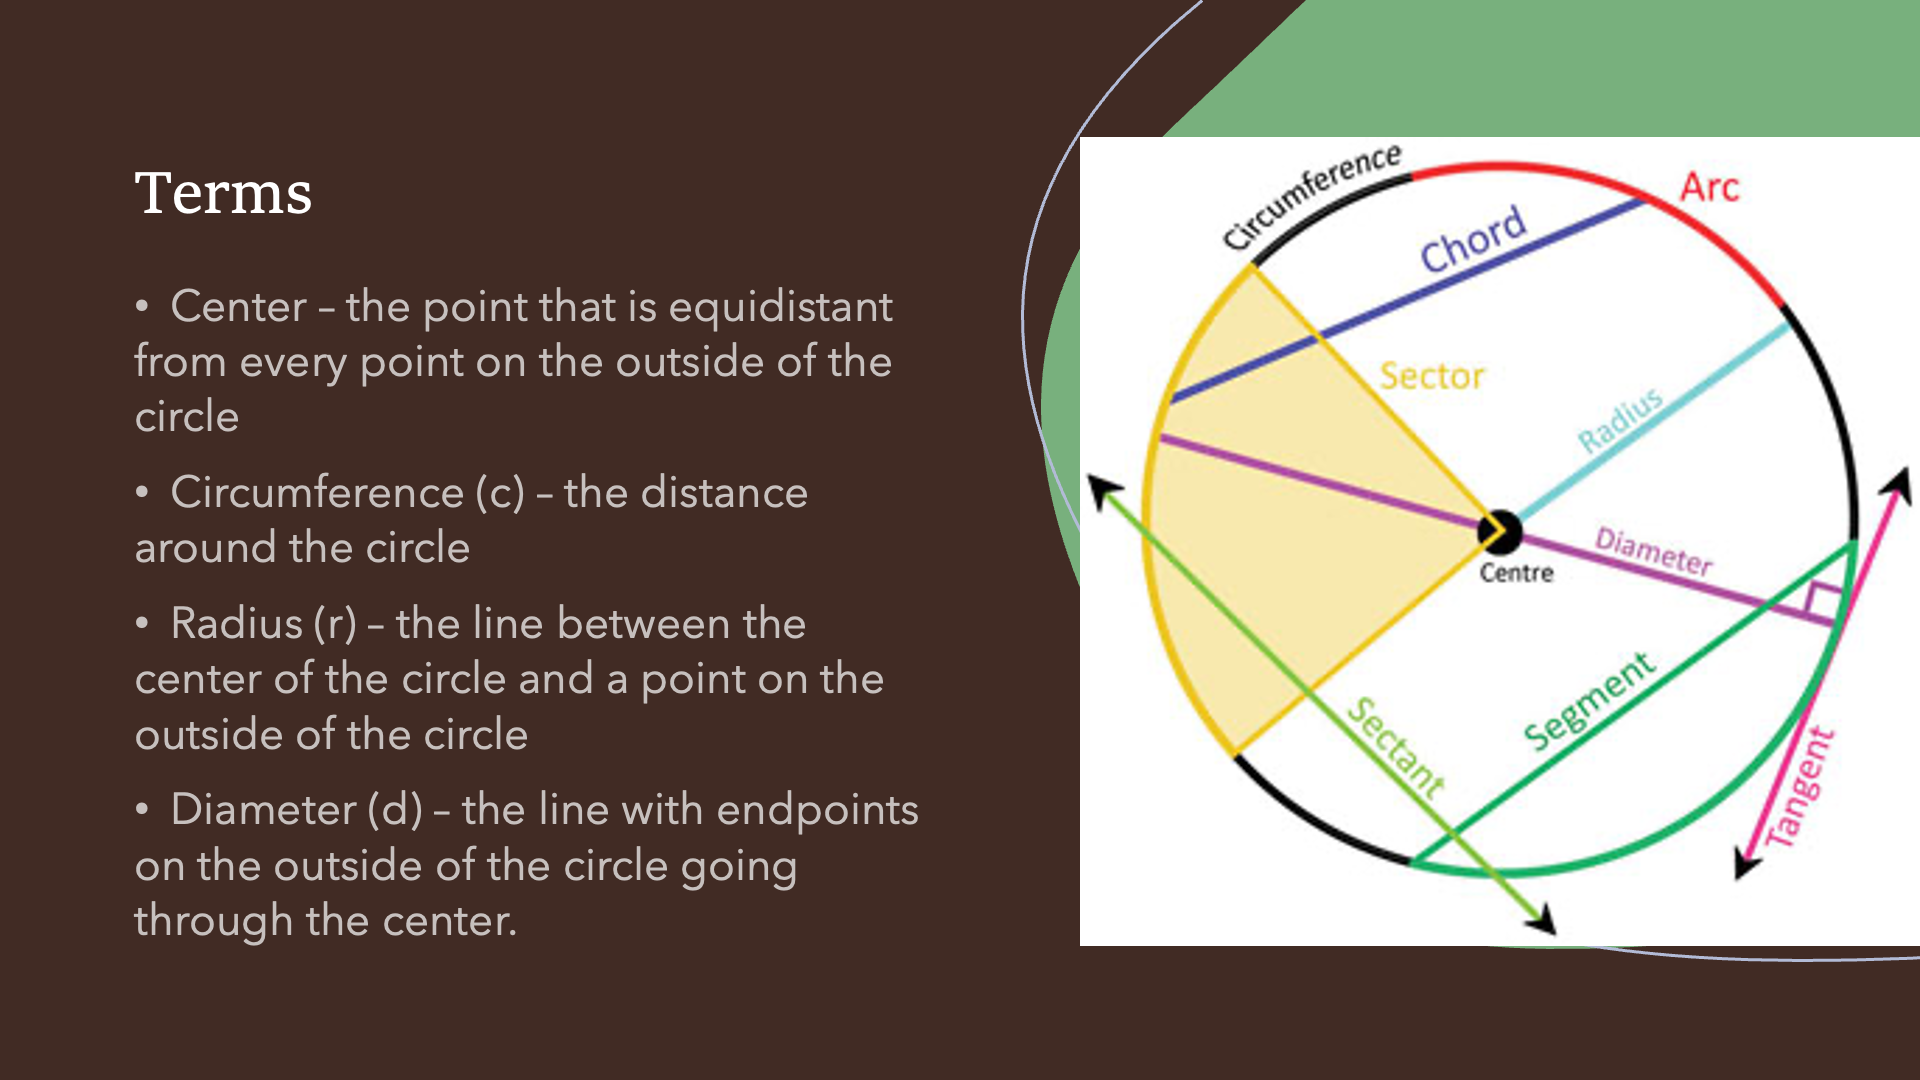
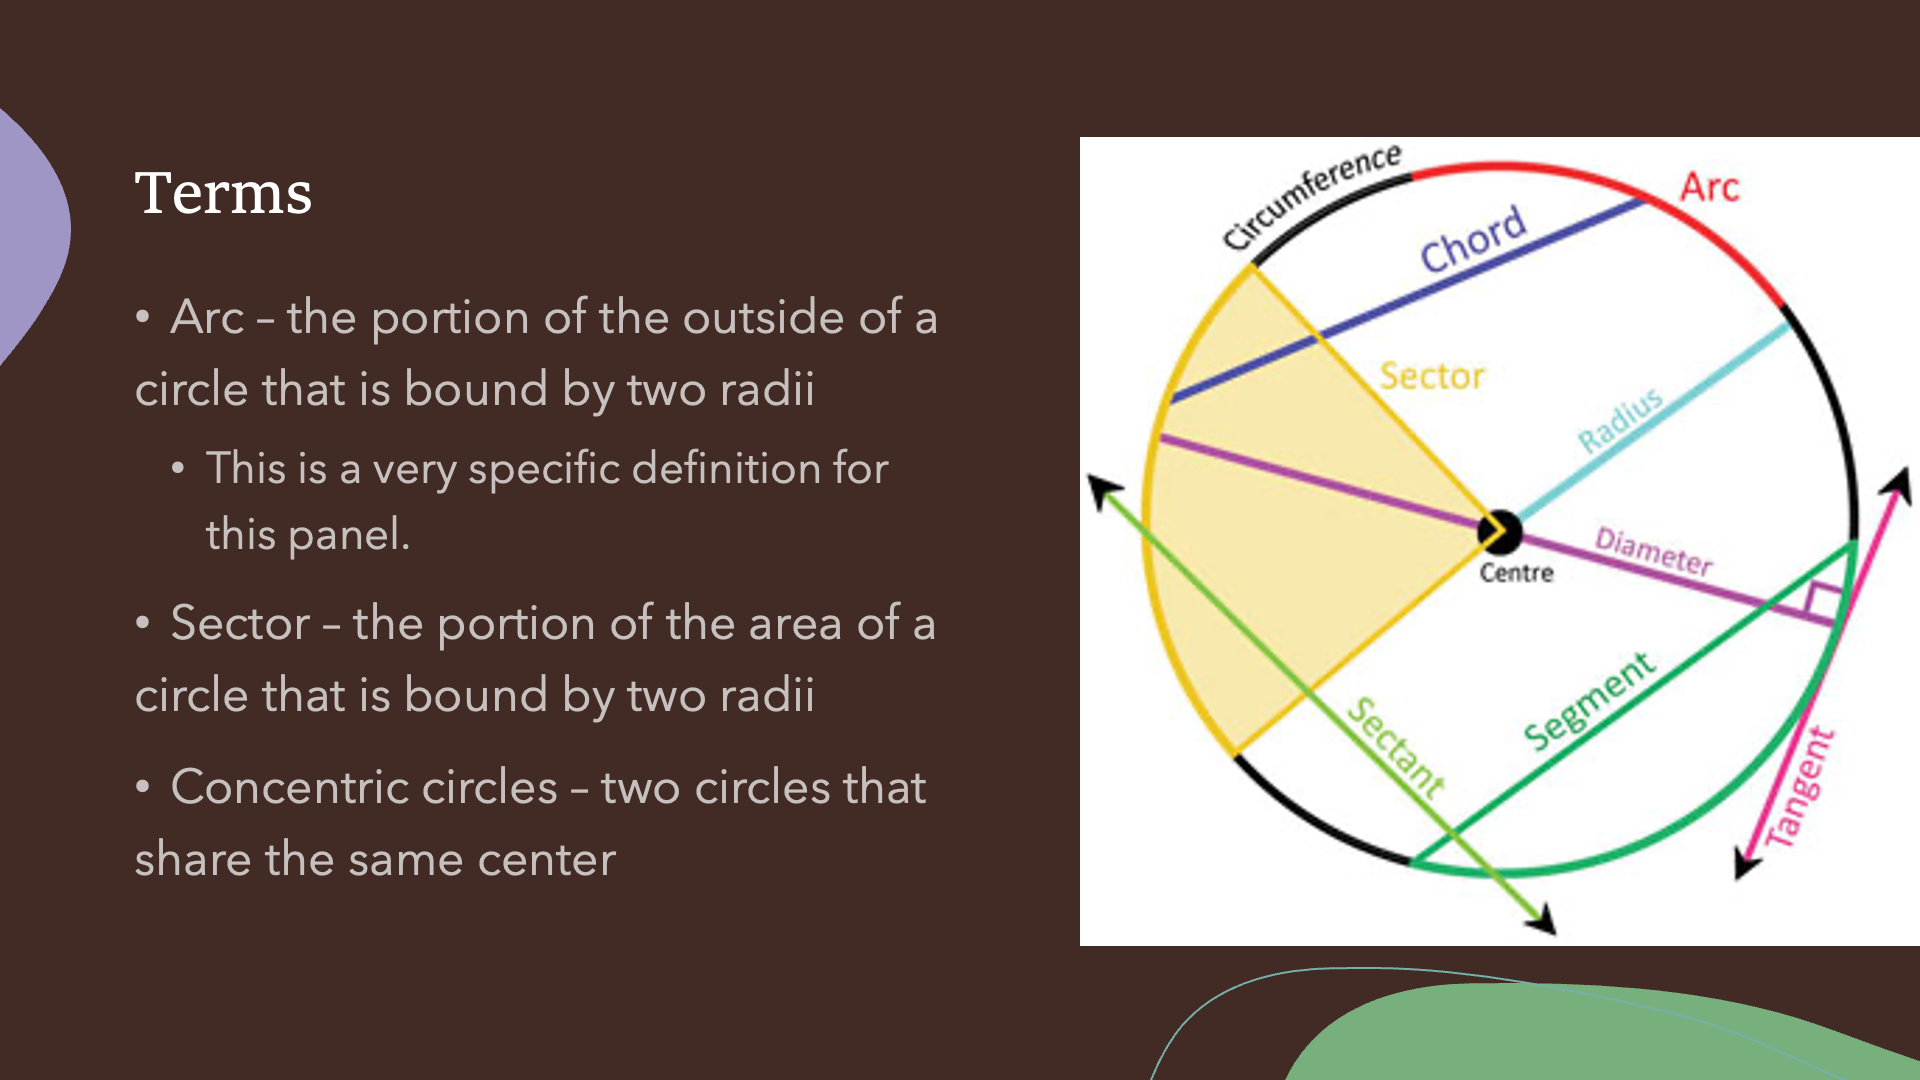 I define "arc" in this way in order to facilitate the drafting of a circle skirt pattern.
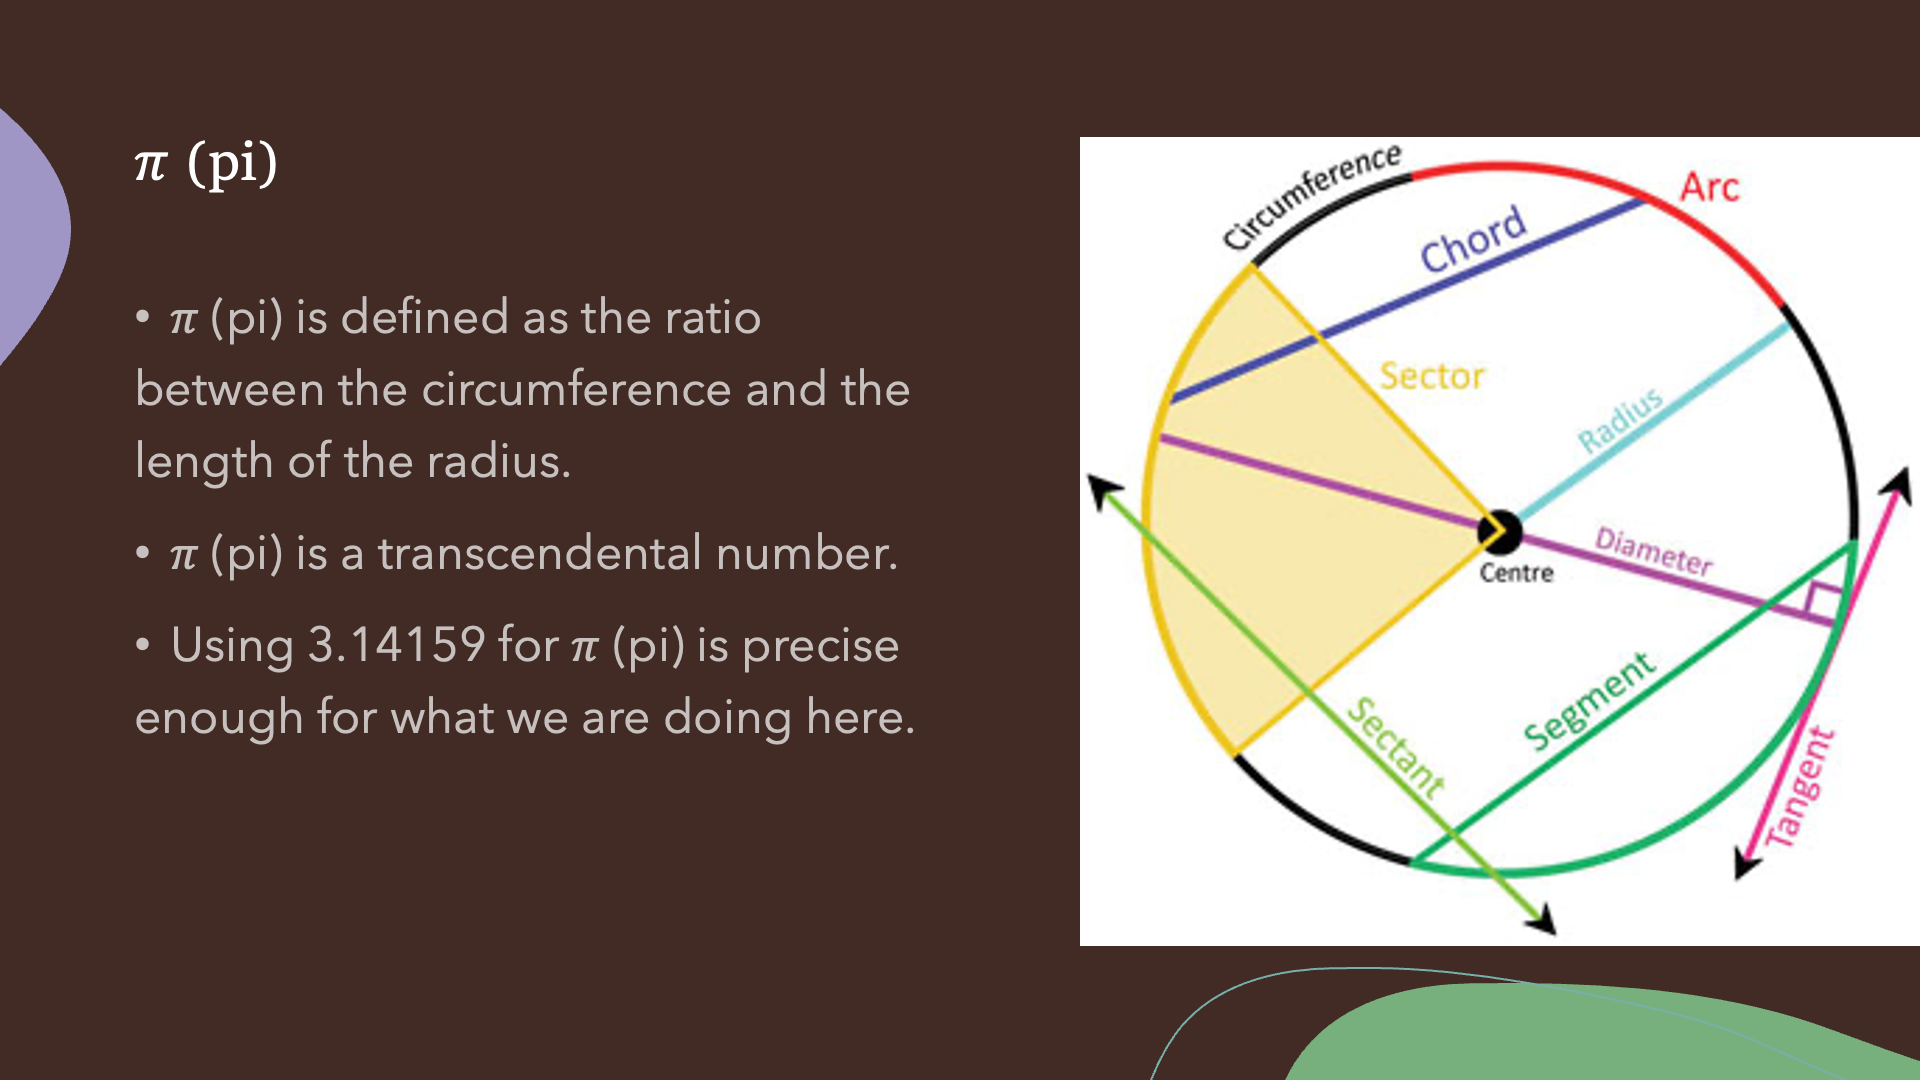 The exact number of digits you need to use for pi for making circle skirts is actually dependent on your measurements. For someone who has smaller measurements, 3.14 is okay, but I usually need 3.14159 to make things correct.
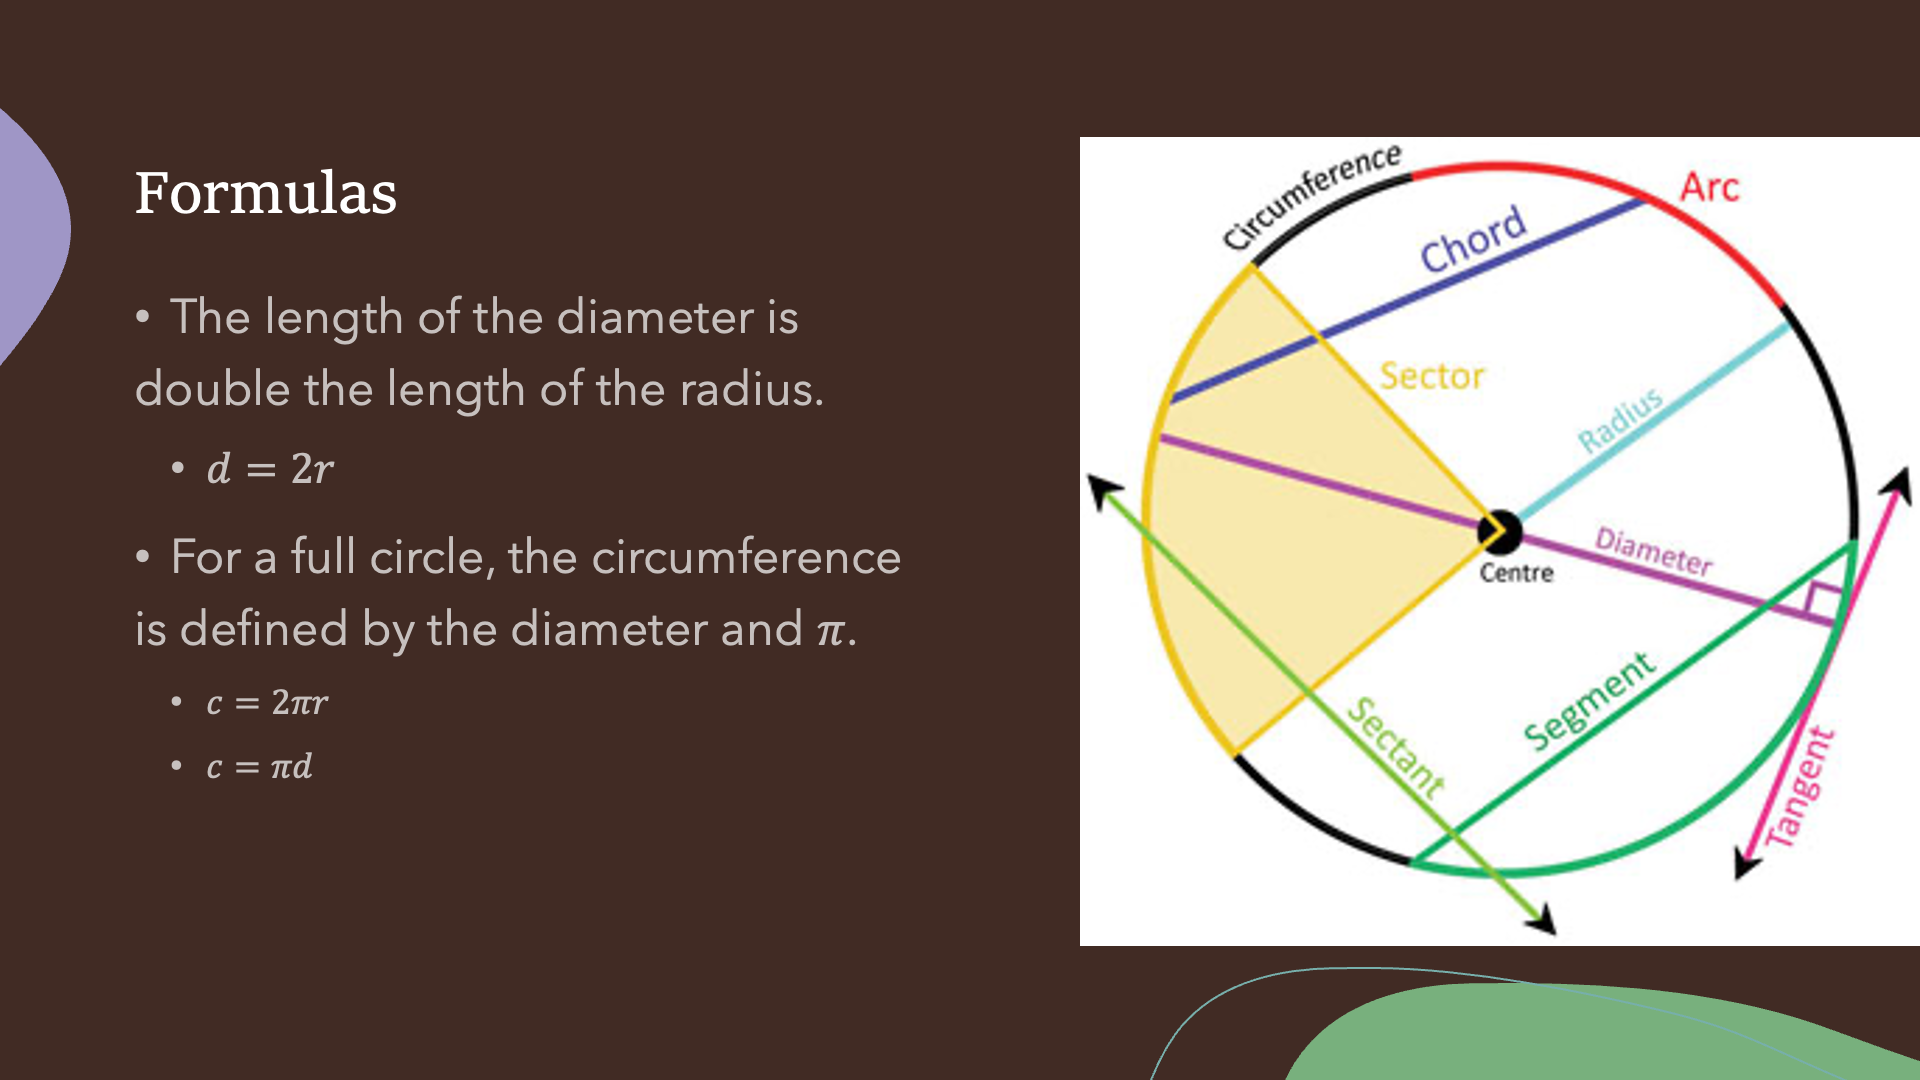 Because of these formulas, any error in pi or your radius/diameter measurements have the potential to throw off your circumference in much wilder ways than you think.
 It is critical that you have the correct tools for drafting a circle skirt pattern.
 It is critical that you have the correct tools for drafting a circle skirt pattern. The tools that I mention here are not necessarily expensive, but reasonably good quality measuring and drafting tools will be critical to avoid errors. Remember that every 1/8" error on your radius results in a 3/4" error on your circumference for a full circle skirt!
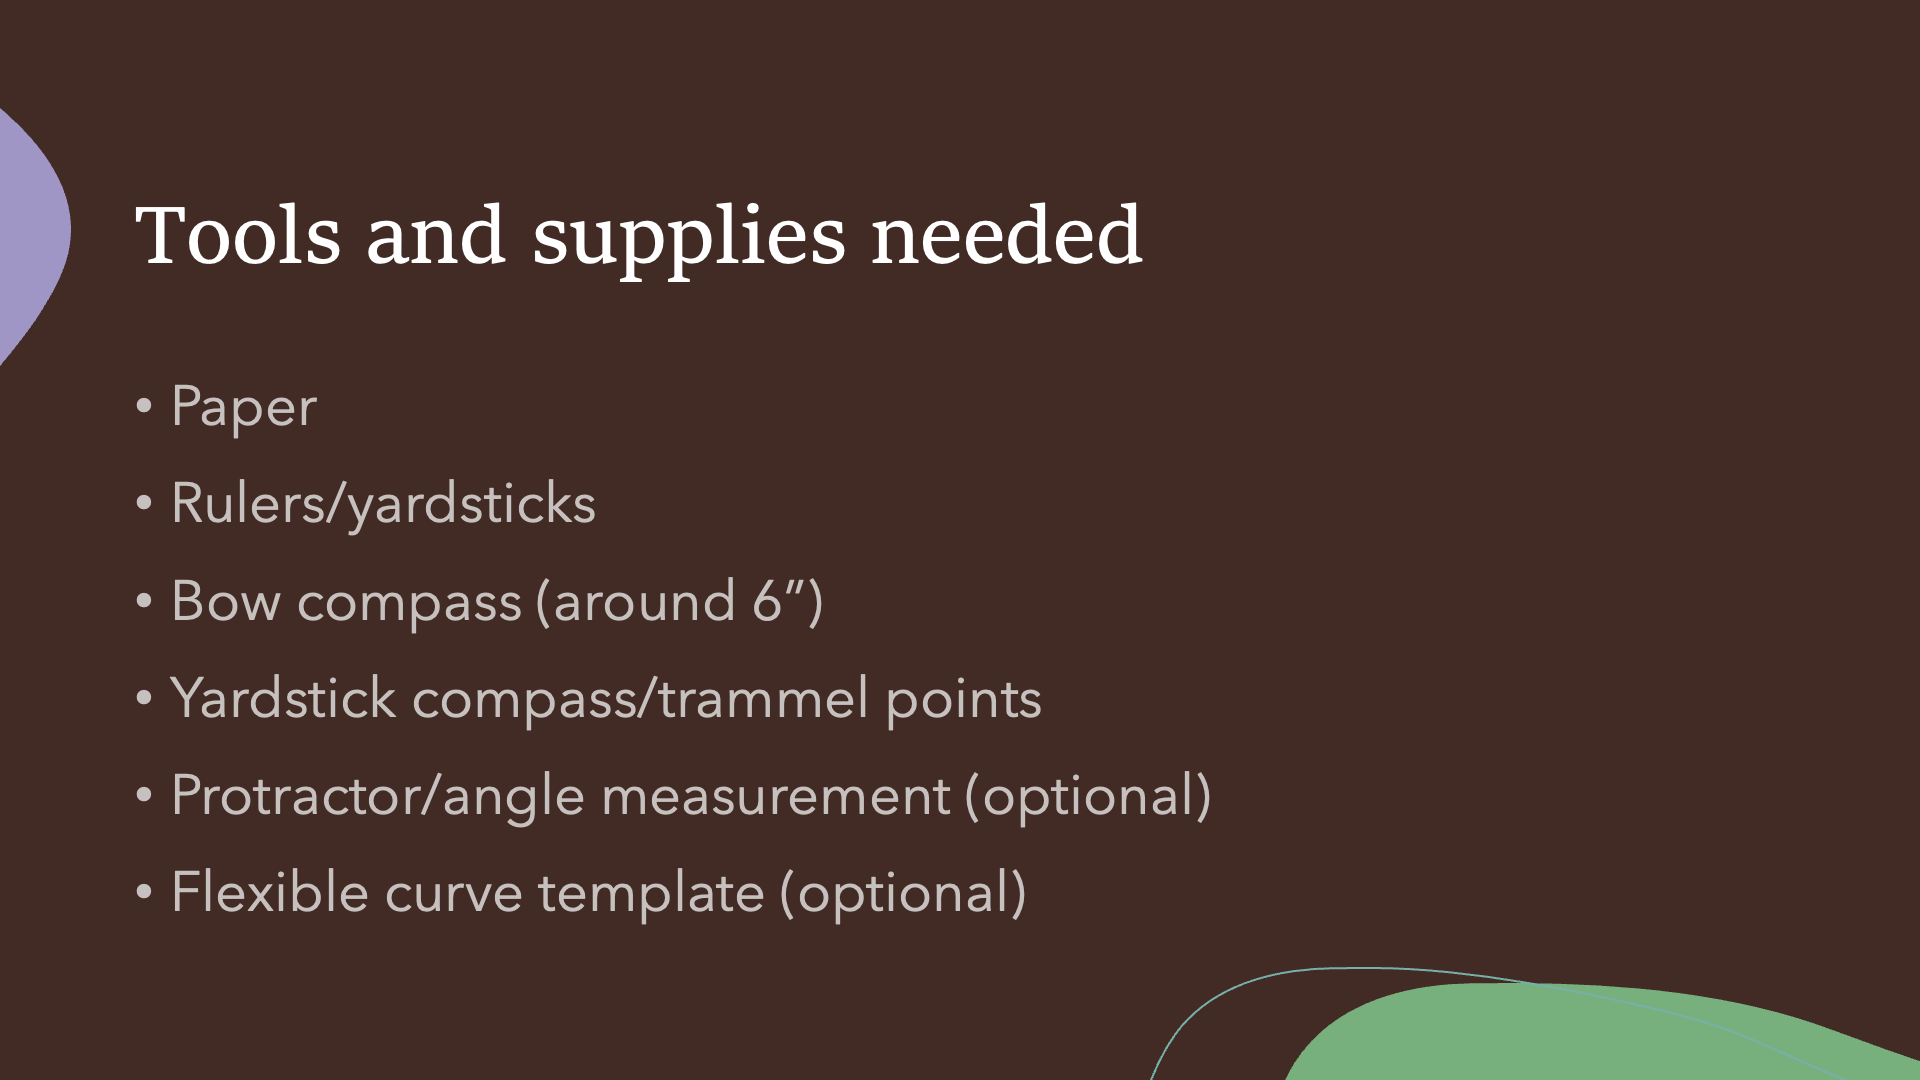 I listed the protractor and the flexible template as optional, as they are only required for weird curves and angles that are not multiples of 90 degrees. The protractor required and a good flexible curve template is a bit more expensive than the other tools combined.
 If you end up doing a lot of this, Uline is a great source for bulk rolls of craft paper, which is my preferred drafting paper for a circle skirt. Again, size is not that big of a deal when you can use tape to graft smaller sheets of paper together.
 For yardsticks, grab a wooden or metal yardstick from your favorite hardware store. I have 3 of them myself. I also have a clear acrylic yardstick; that one might be harder to find as you will probably need to go to a quilting store for that.I really love clear acrylic rulers that you can get a quilting store; they come in all sorts of sizes and shapes that are all useful in some way. I'd get at least a 12", 18", and 24" long ruler, with the width be anything that you like.
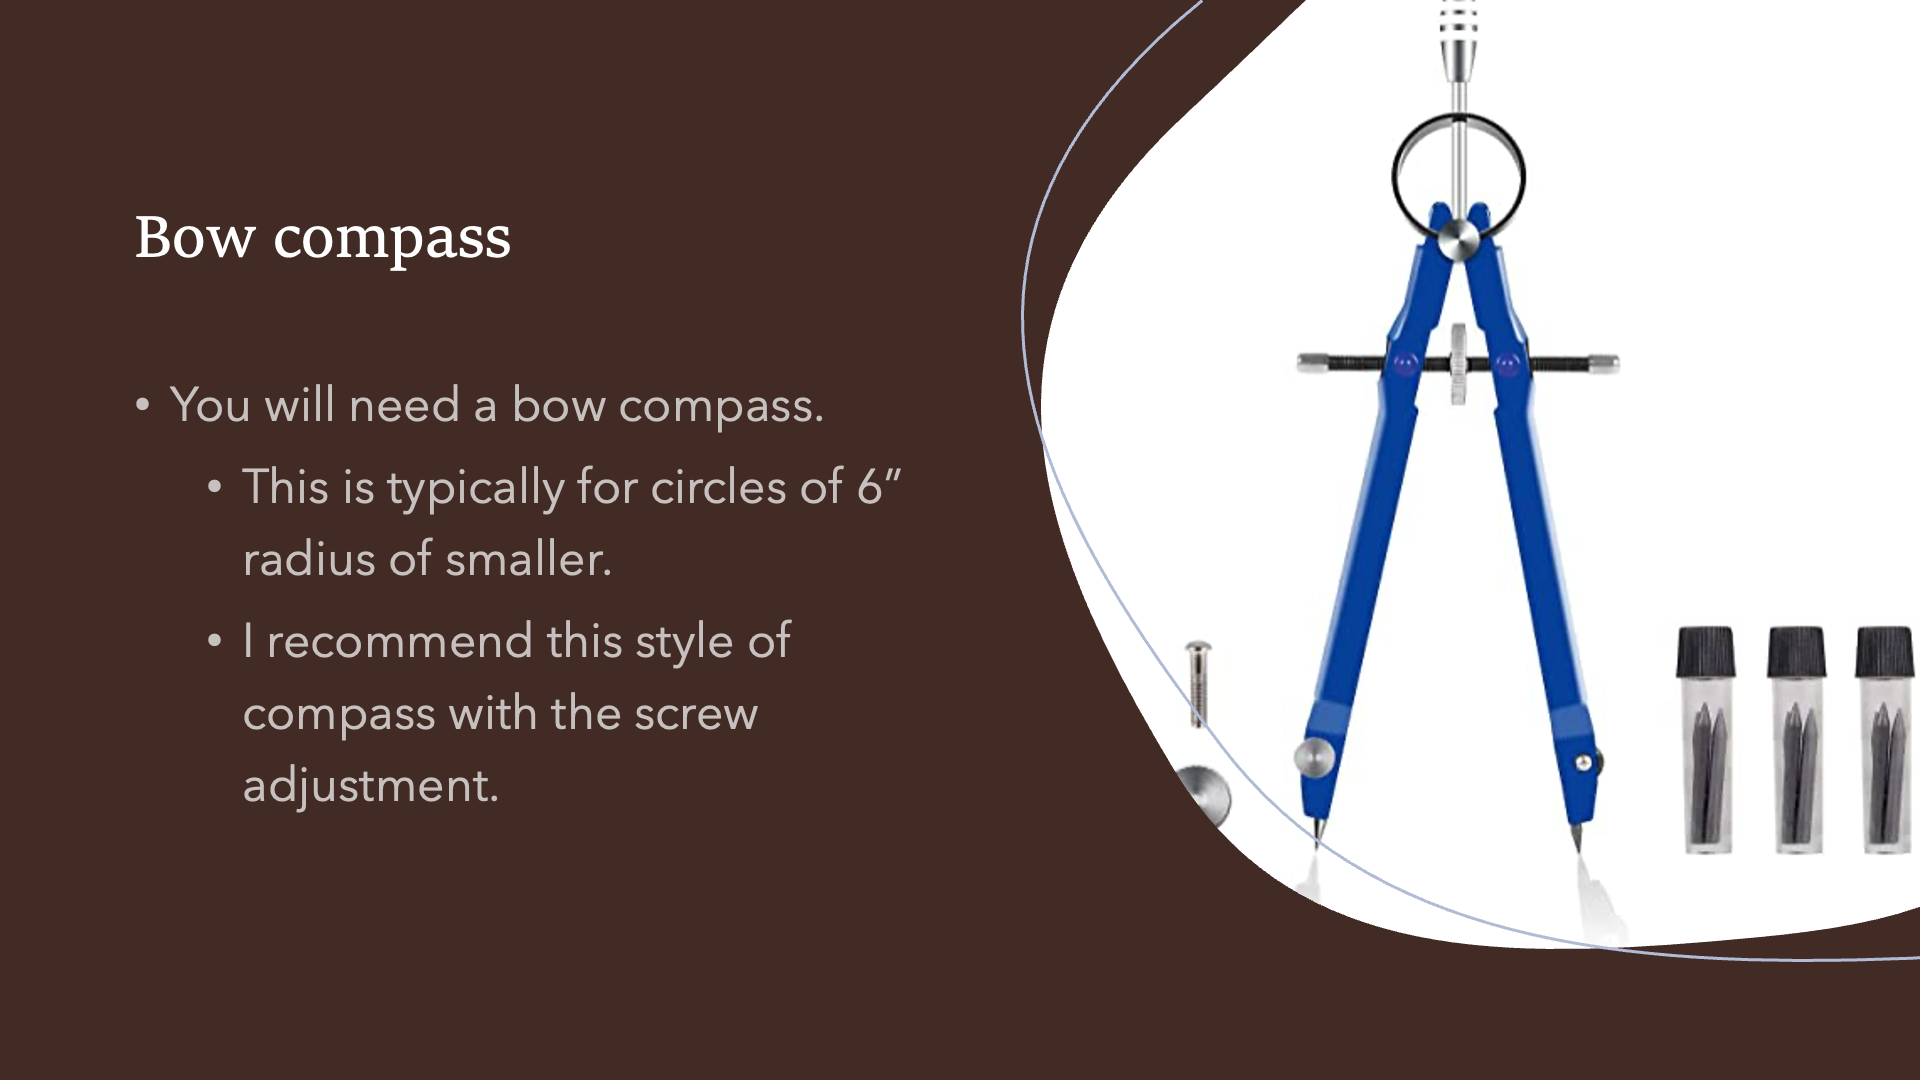 Use a legitimate bow compass as shown here, not one of the compasses you used in elementary school. They can be easily found in craft stores and Amazon. The screw mechanism holds its size better.Any legitimate art store will sell the lead you need for the bow compass. Jerry's Artarama is my preferred source for the lead. You will have to manually break it into smaller pieces, though.
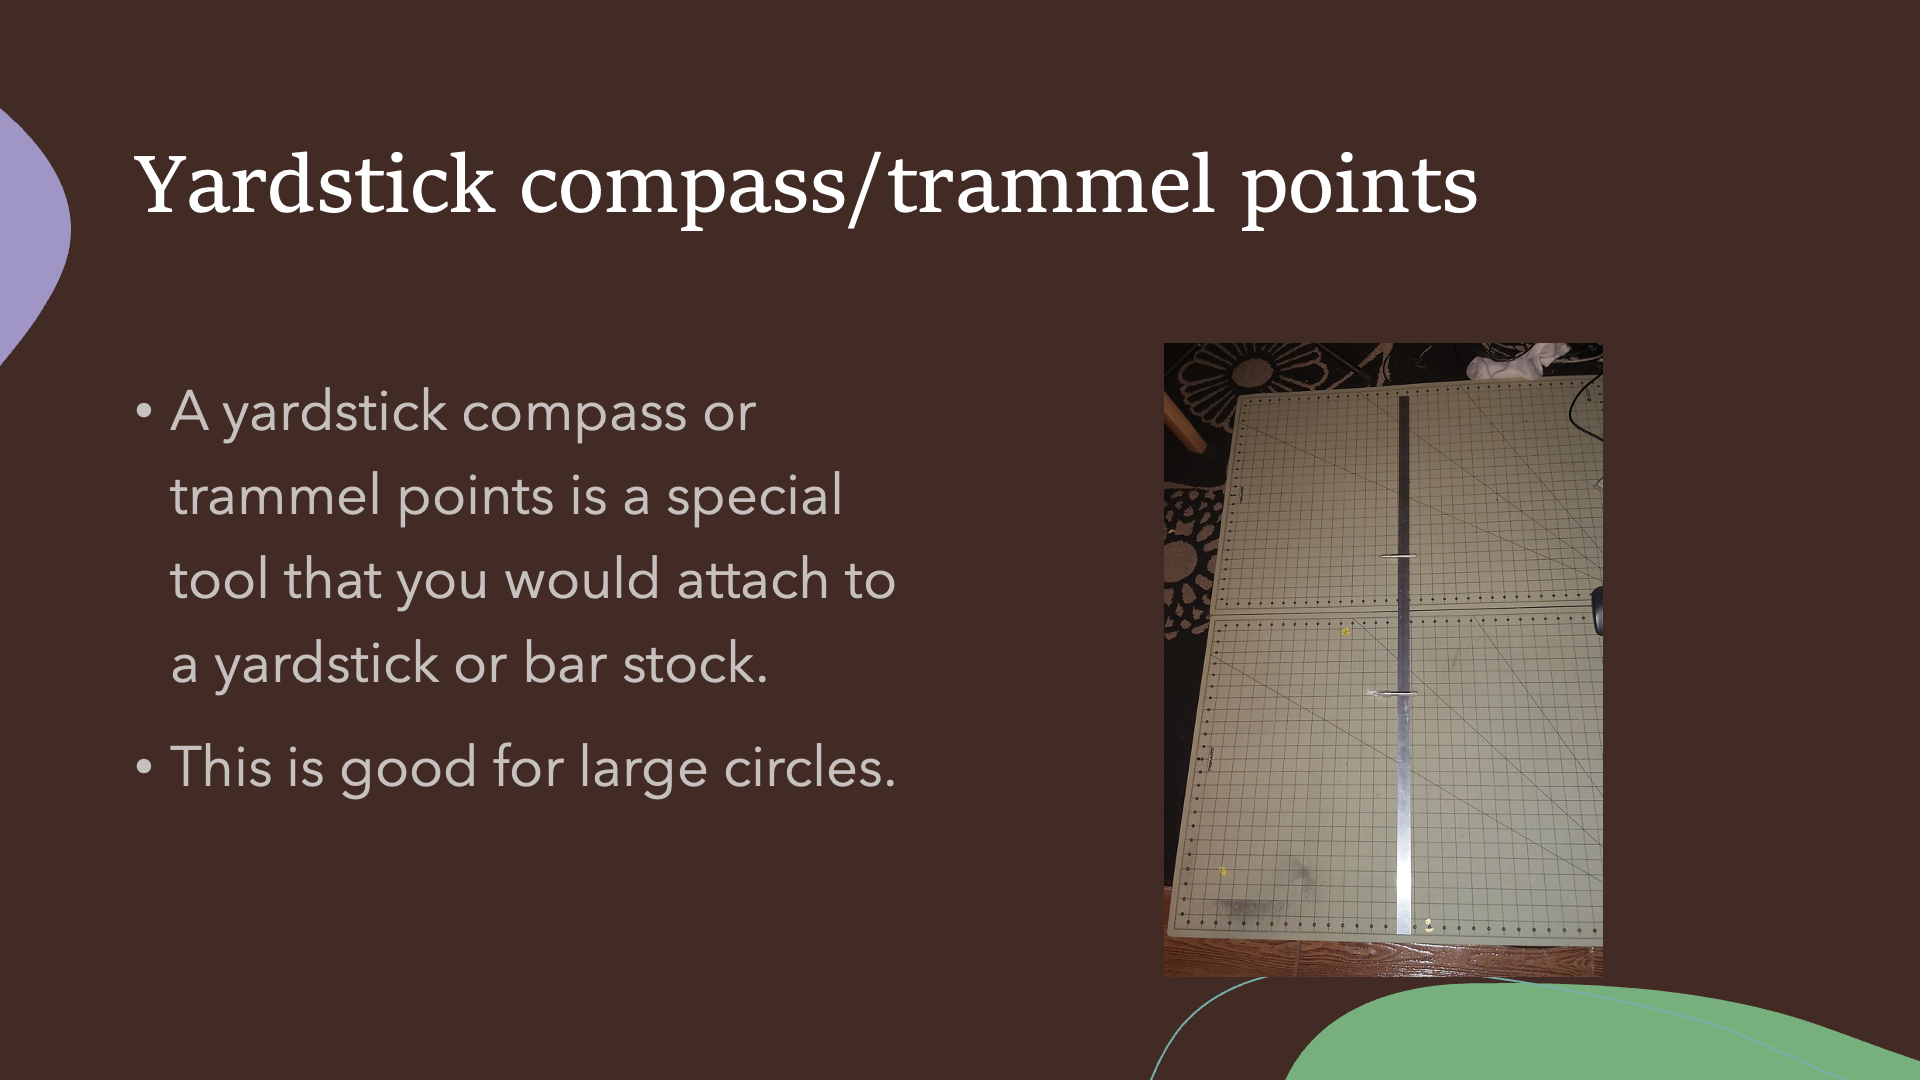 You do not necessarily need a super expensive trammel point set; an inexpensive one will work. I put these points on a piece of aluminum bar stock that I got at a hardware store; it allows me to do a circle up to a 48" radius. This will allow you to draft large circles alone without requiring additional people to hold the points.
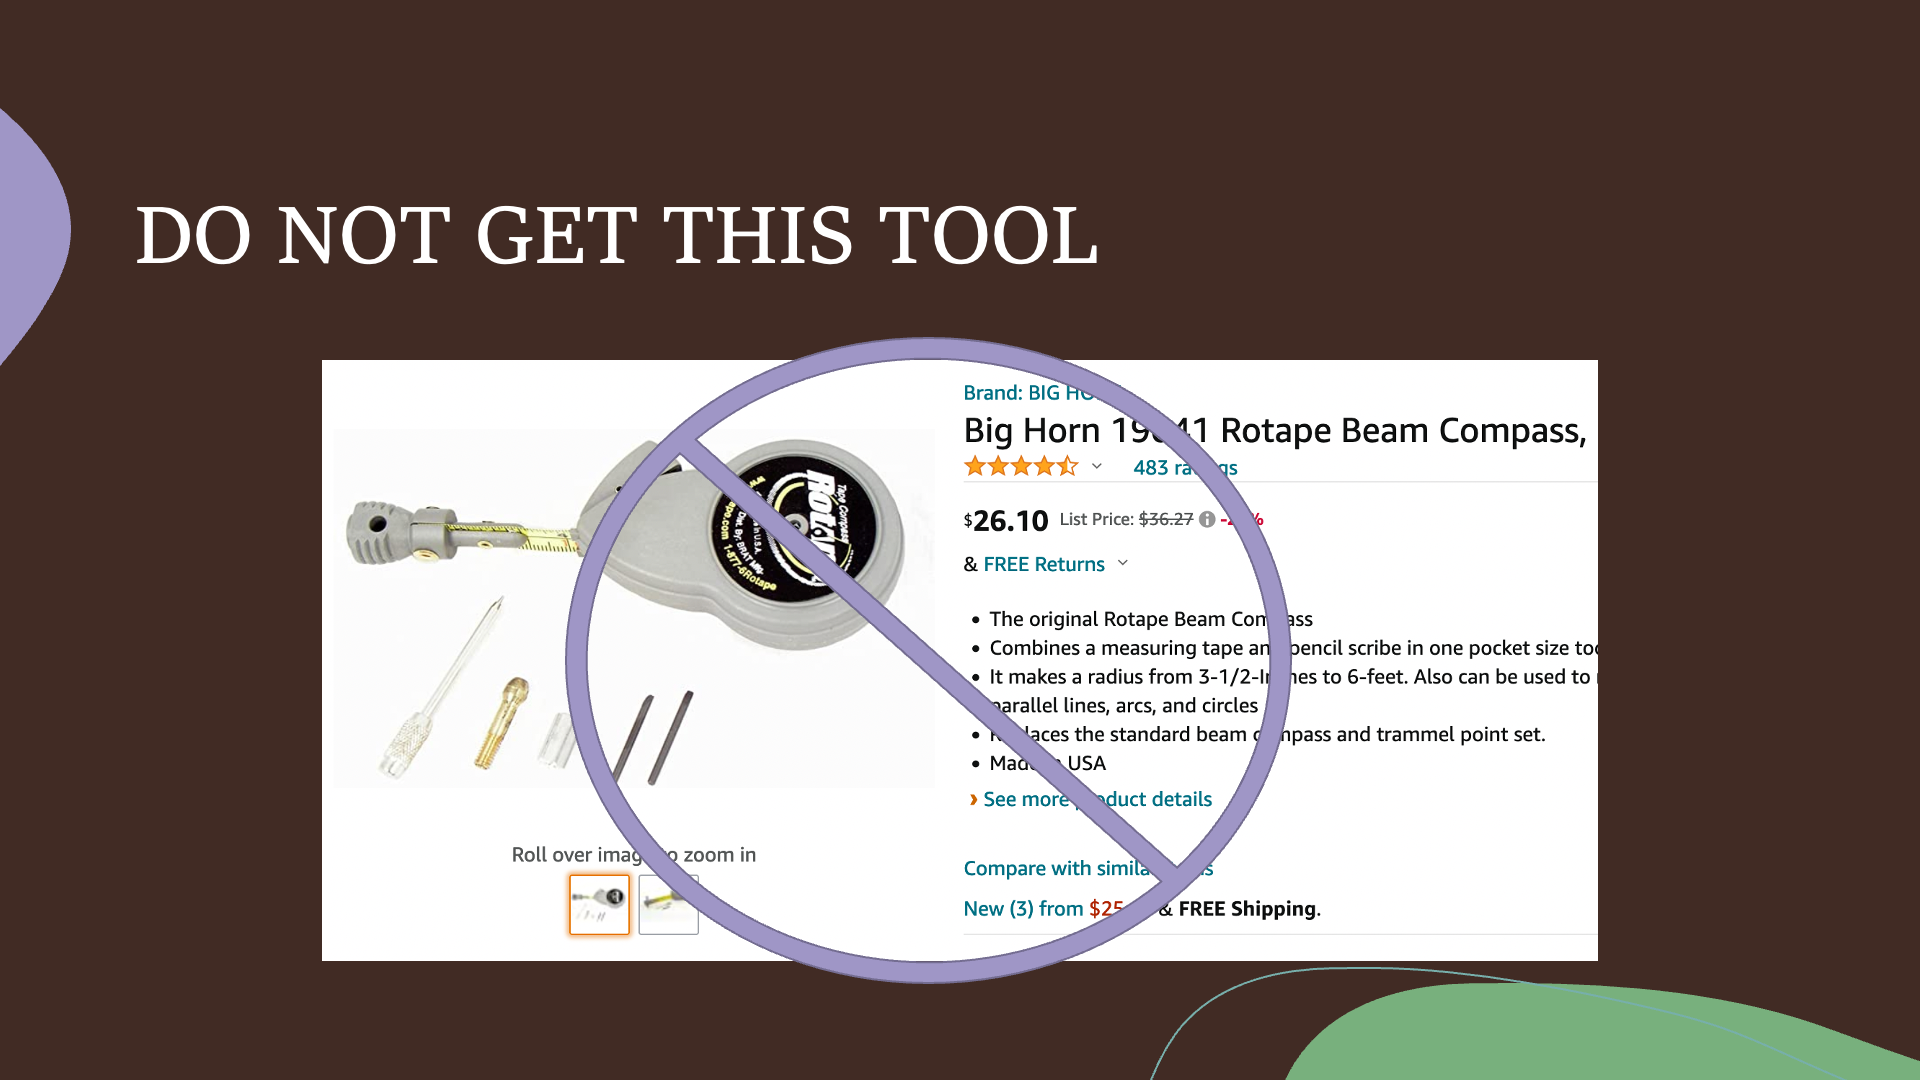 This tool is pretty pricey and worthless; this is no better than the tried and true pencil and string method, which can be done for less than $1. Don't waste your money on this tool.
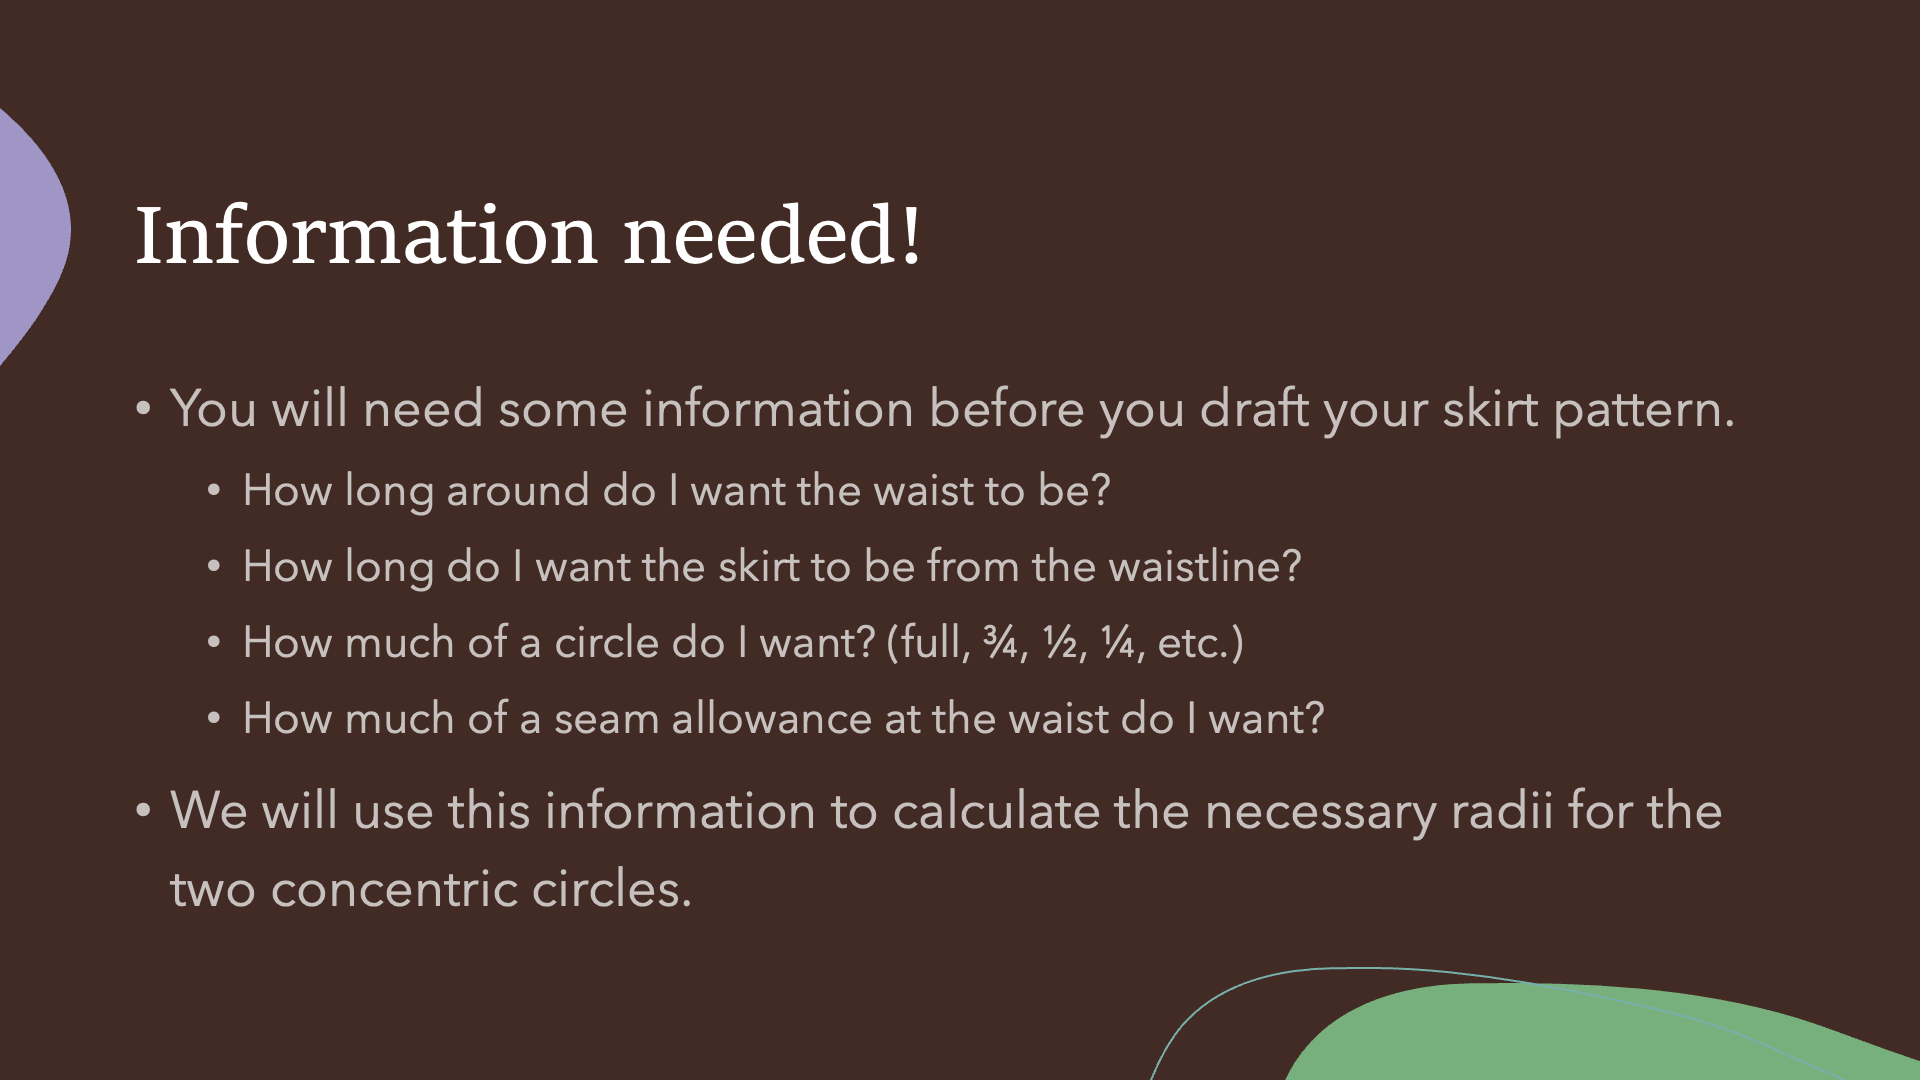
 Start drafting the pattern!
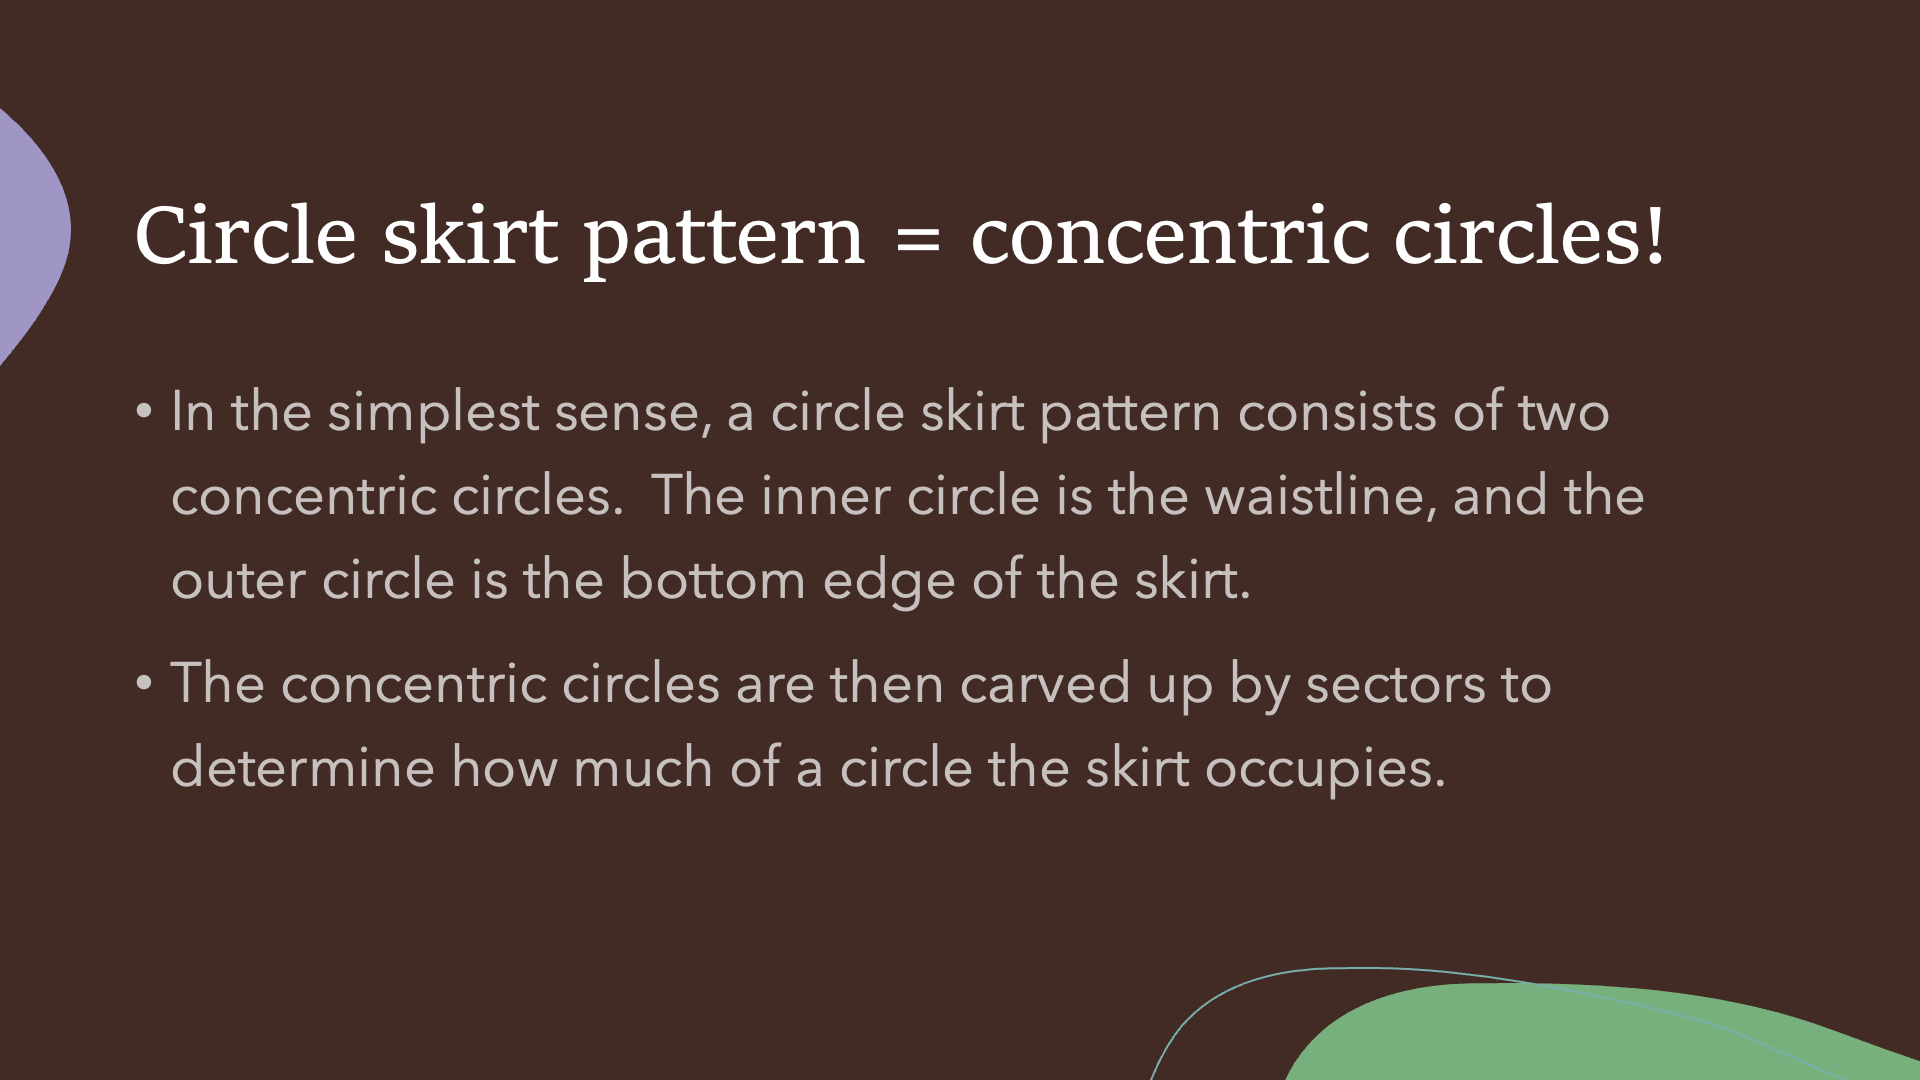 It is that easy! The structure and geometry of a circle skirt is pretty simple compared to a fitted bodice!
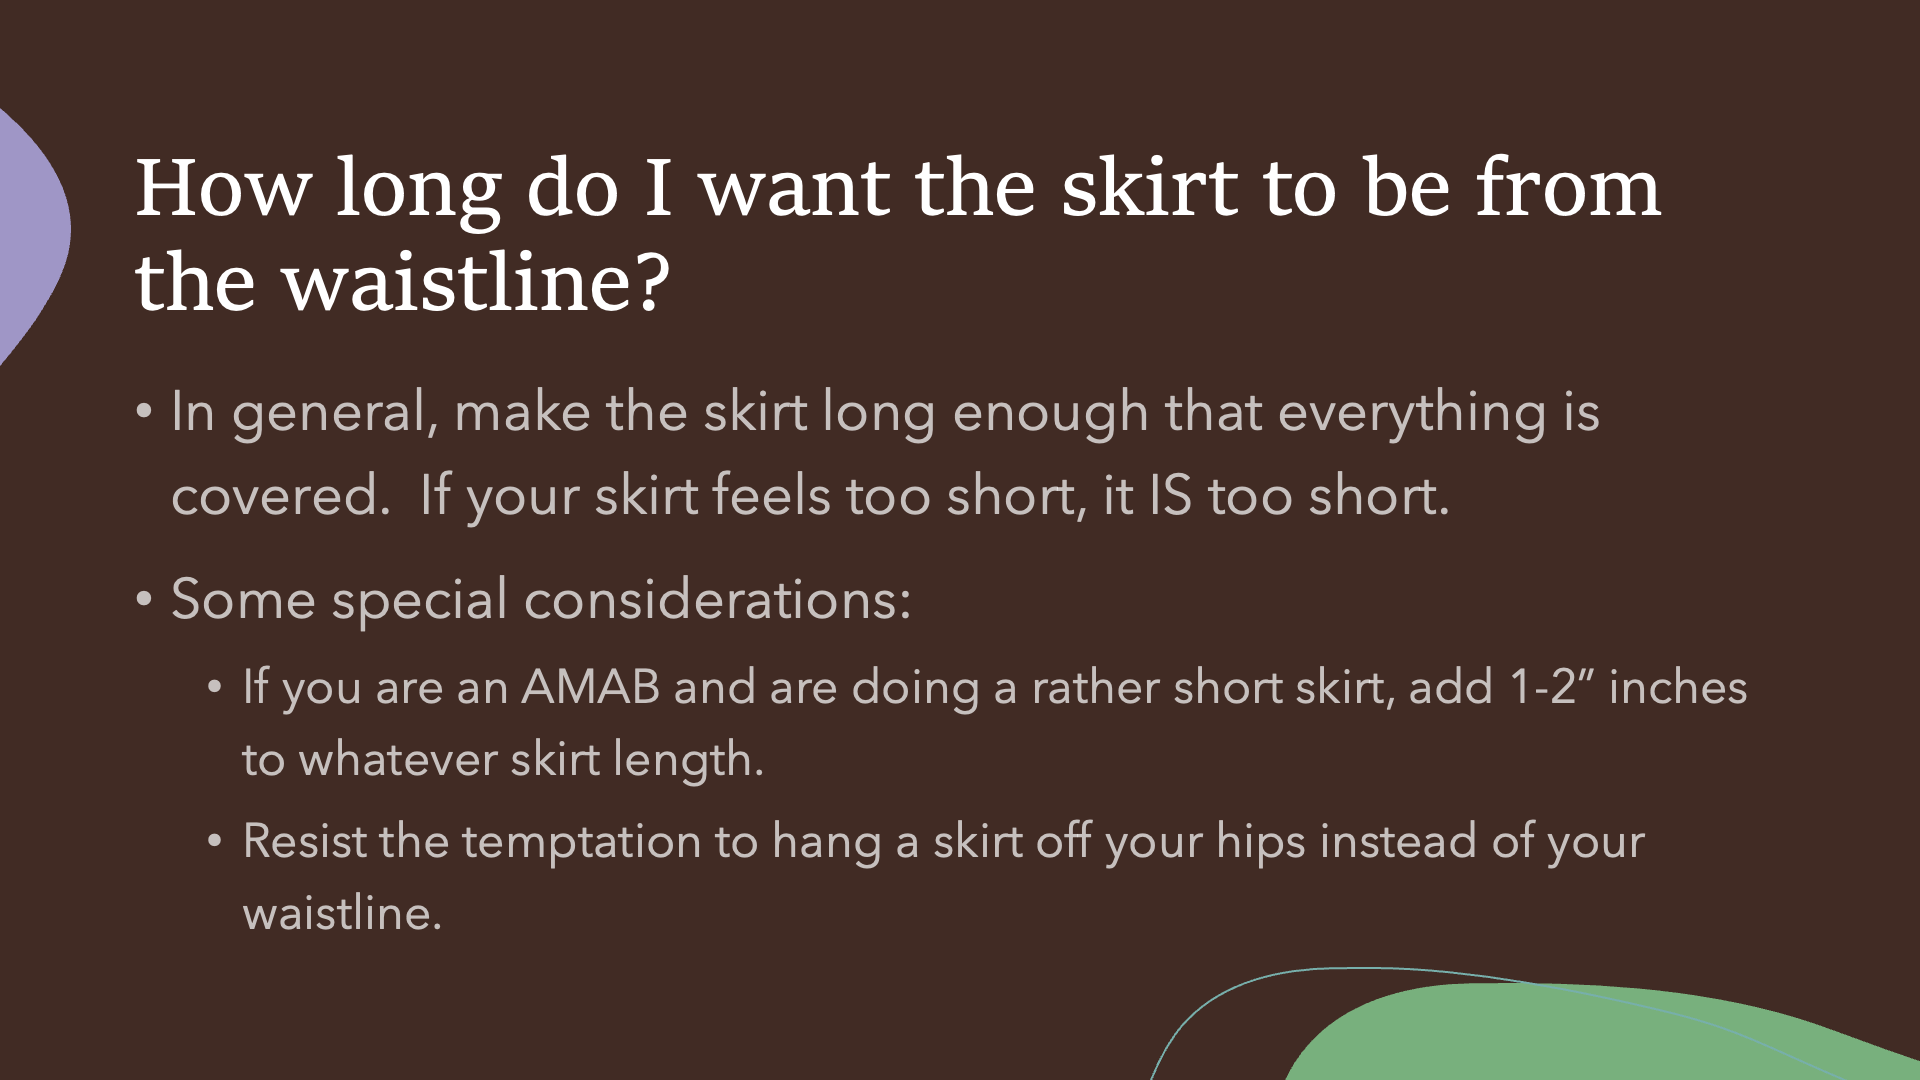 I am personally not a fan of extremely short skirts in general; notwithstanding the decency issues, what I really like about skirts is the way they can really modify the silhouette for the better, and the shorter the skirt, the less likely it will be able to do so.I have seen the skirt hung on the hips trick too many times to really recommend it. It works for a pencil skirt, not a circle skirt.
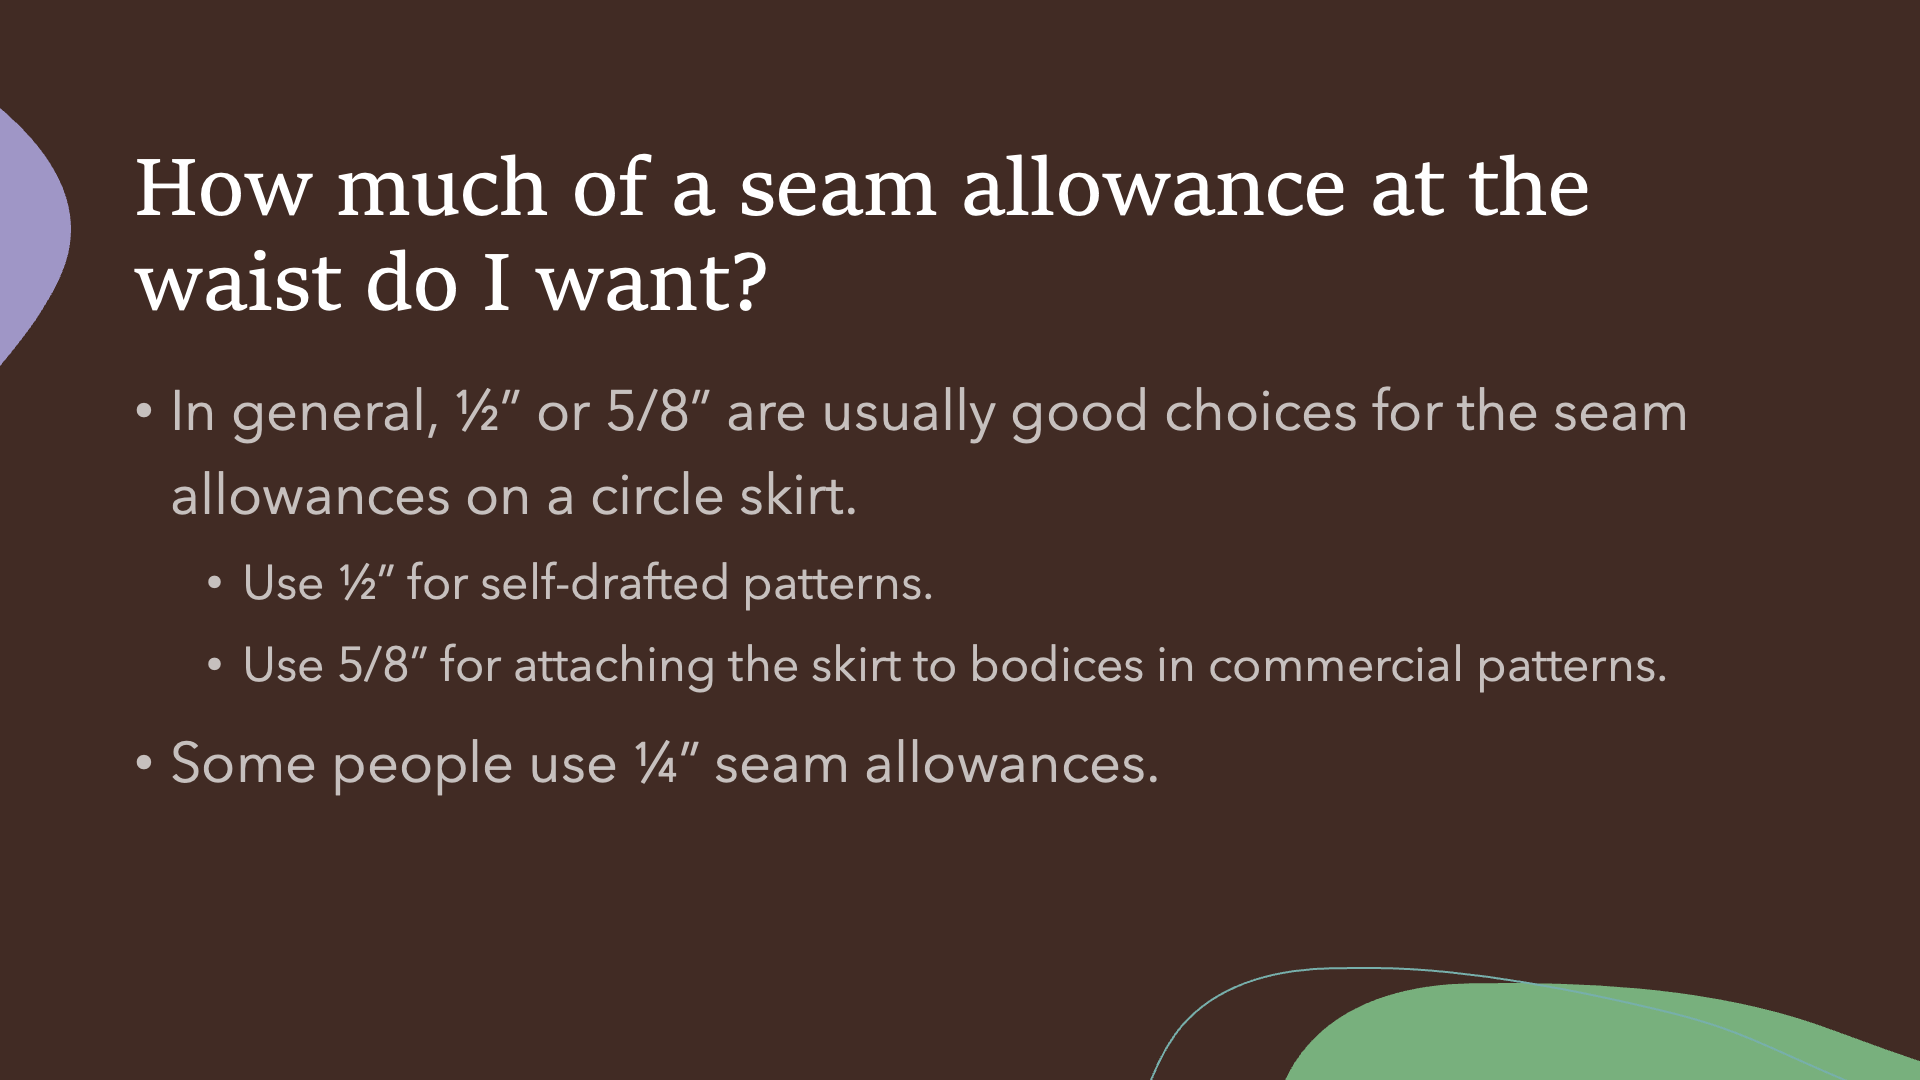 I have never gotten a completely satisfactory answer on why 5/8" is used in commercial patterns; most of the reasons I was given is speculation.
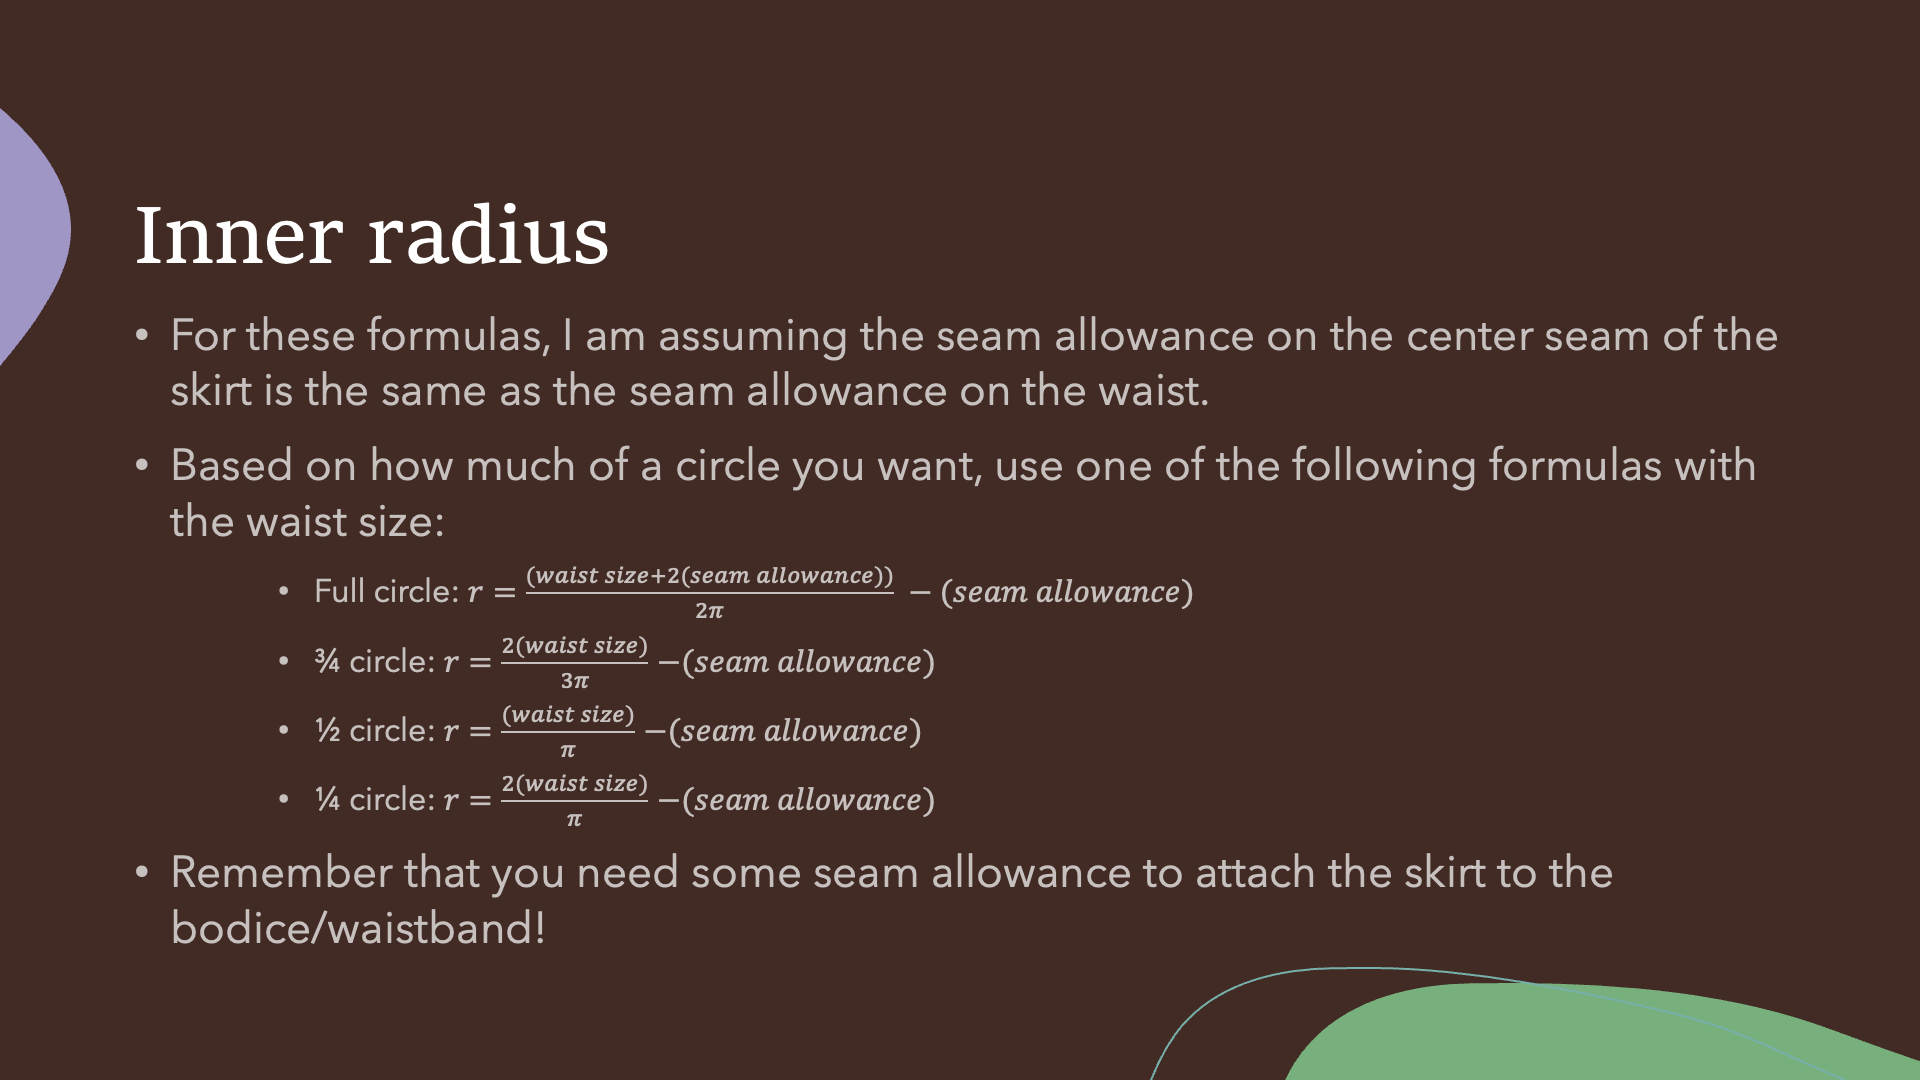 During the presentation, I had to fix a math error. Remember that your skirt will likely need some form of a seam (a back center seam is common), and the formulas reflect that. For anything smaller than a full circle, you can theoretically add the seam allowances after the fact, but that is not possible with a full circle.
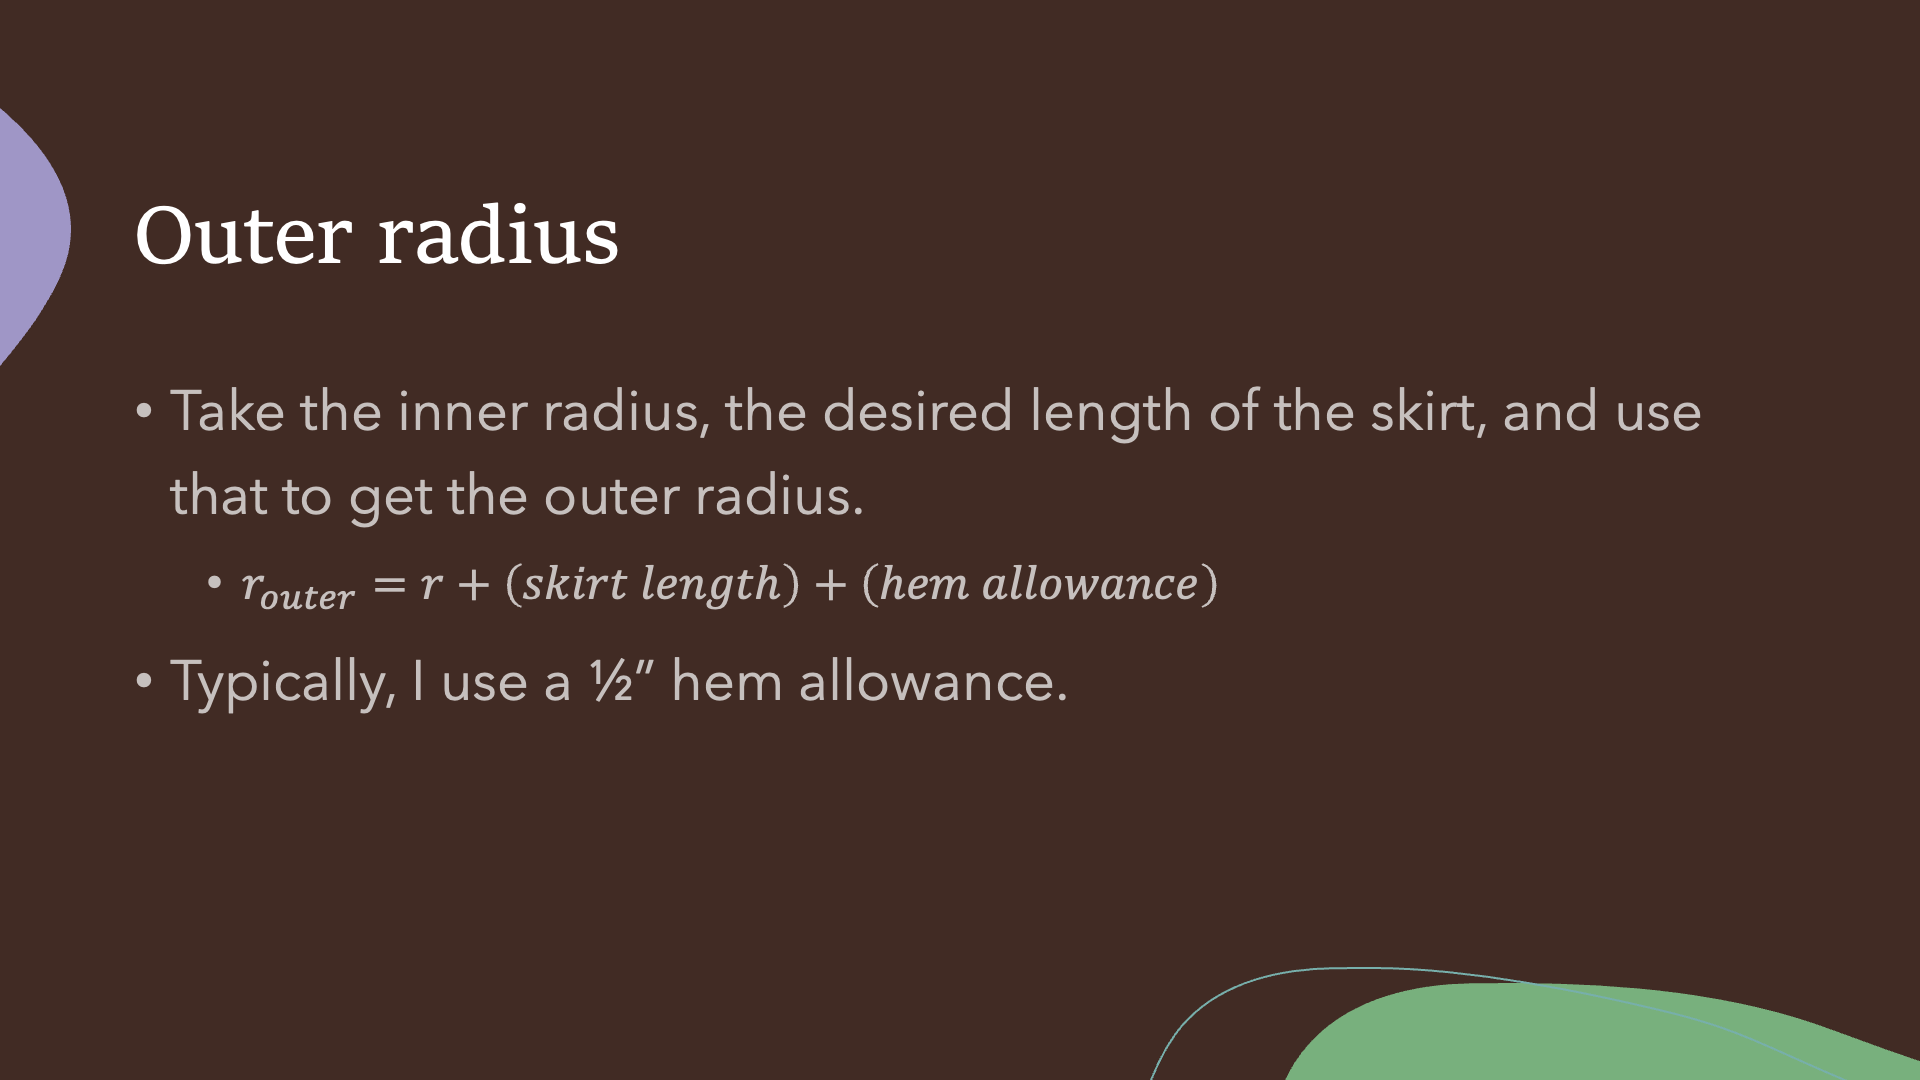 1/2" is a great option for a hem allowance; I don't often have anything that needs more, and if it does need more than that, I'd make a whole hem band/facing.
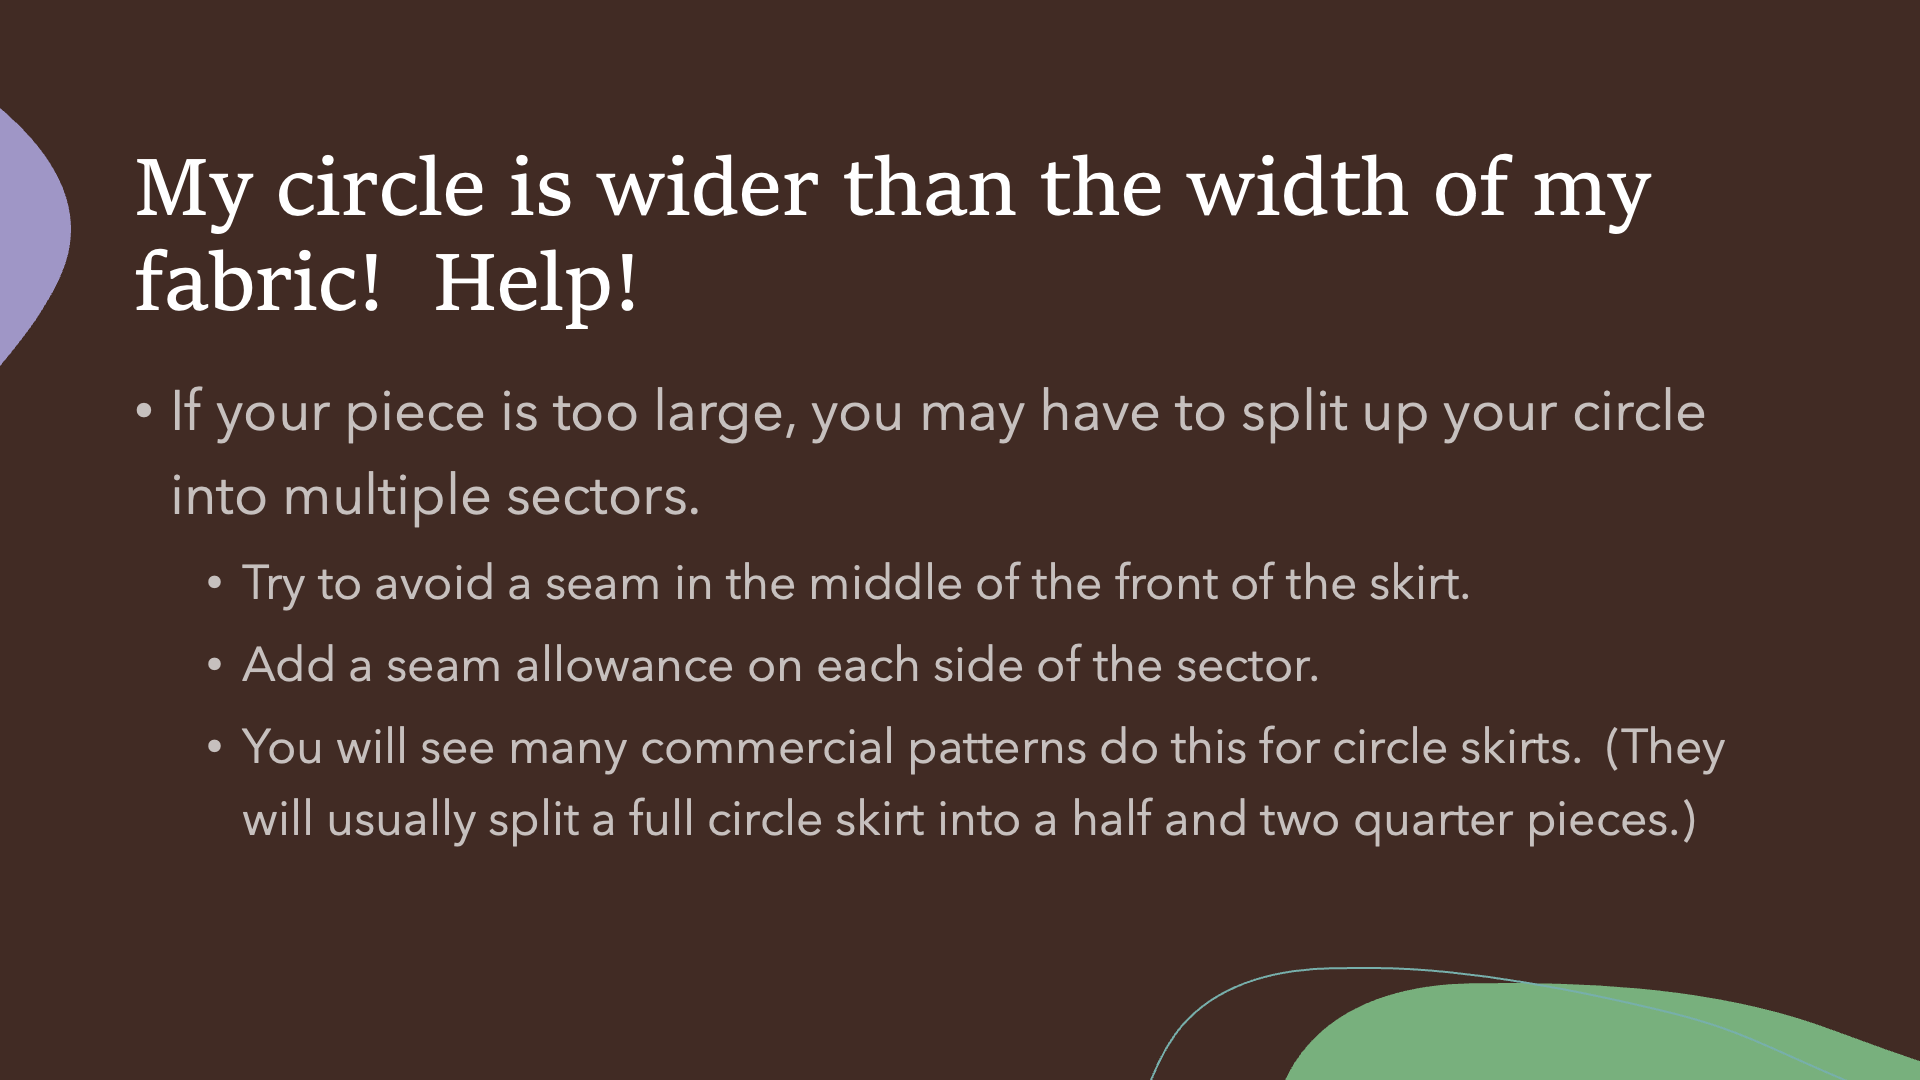 Splitting the circle into multiple sectors makes it possible to do larger skirts on fabrics that are smaller in width.
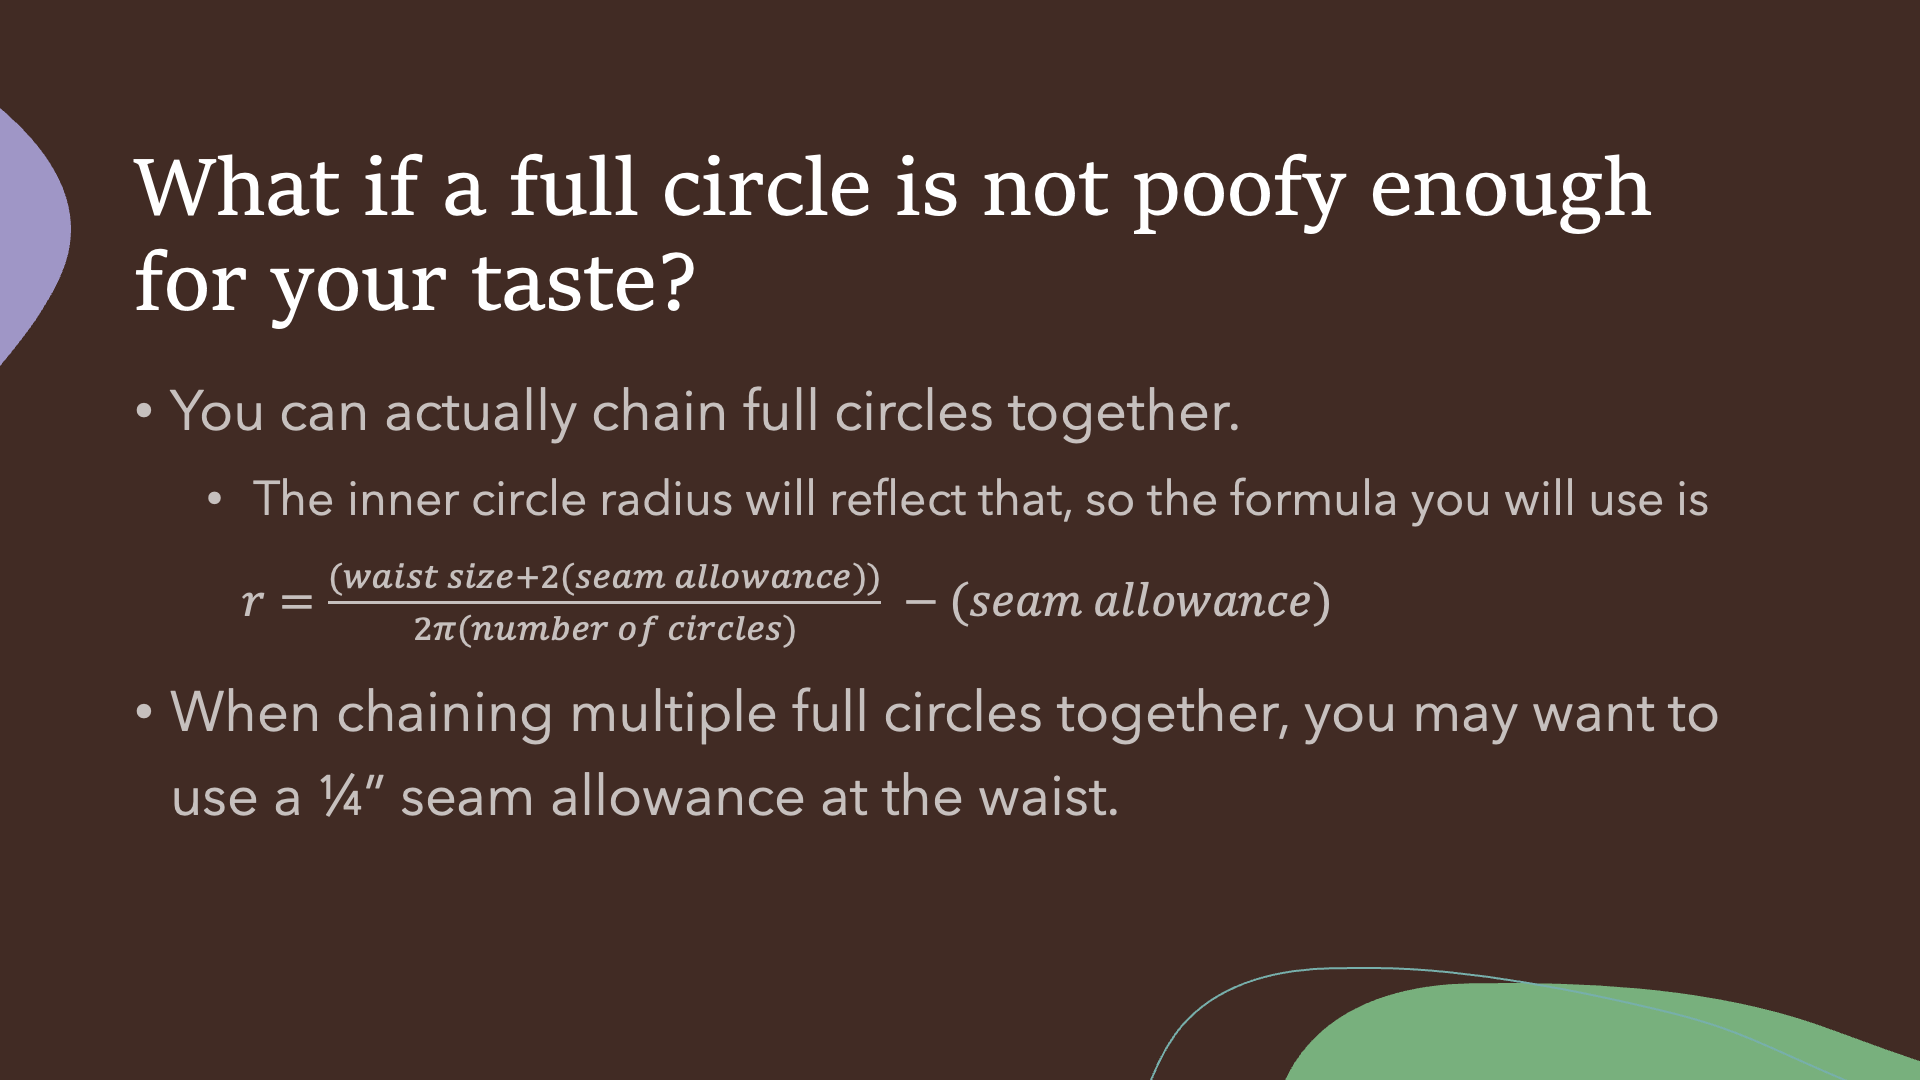 My favorite combination of a multiple circle skirt is a triple circle skirt. This means a nice clean front panel, two side panels, and a perfect back seam. I also like to do a double circle skirt that is made of three 2/3 circle pieces for the same effect.
 French seams, faux flat fell seams, and lapped seams (if you are sewing with something that doesn't shred on the raw edge) are perfect for circle skirts.Usually, when I do a circle skirt, by the time I get to the point where I have sewed all the pieces together, it often works out that it is late in the evening, so I hang the skirt regardless whether it needs it or not.
 I really want to talk about this topic, as it is probably the biggest fear of any sewist doing a circle skirt.
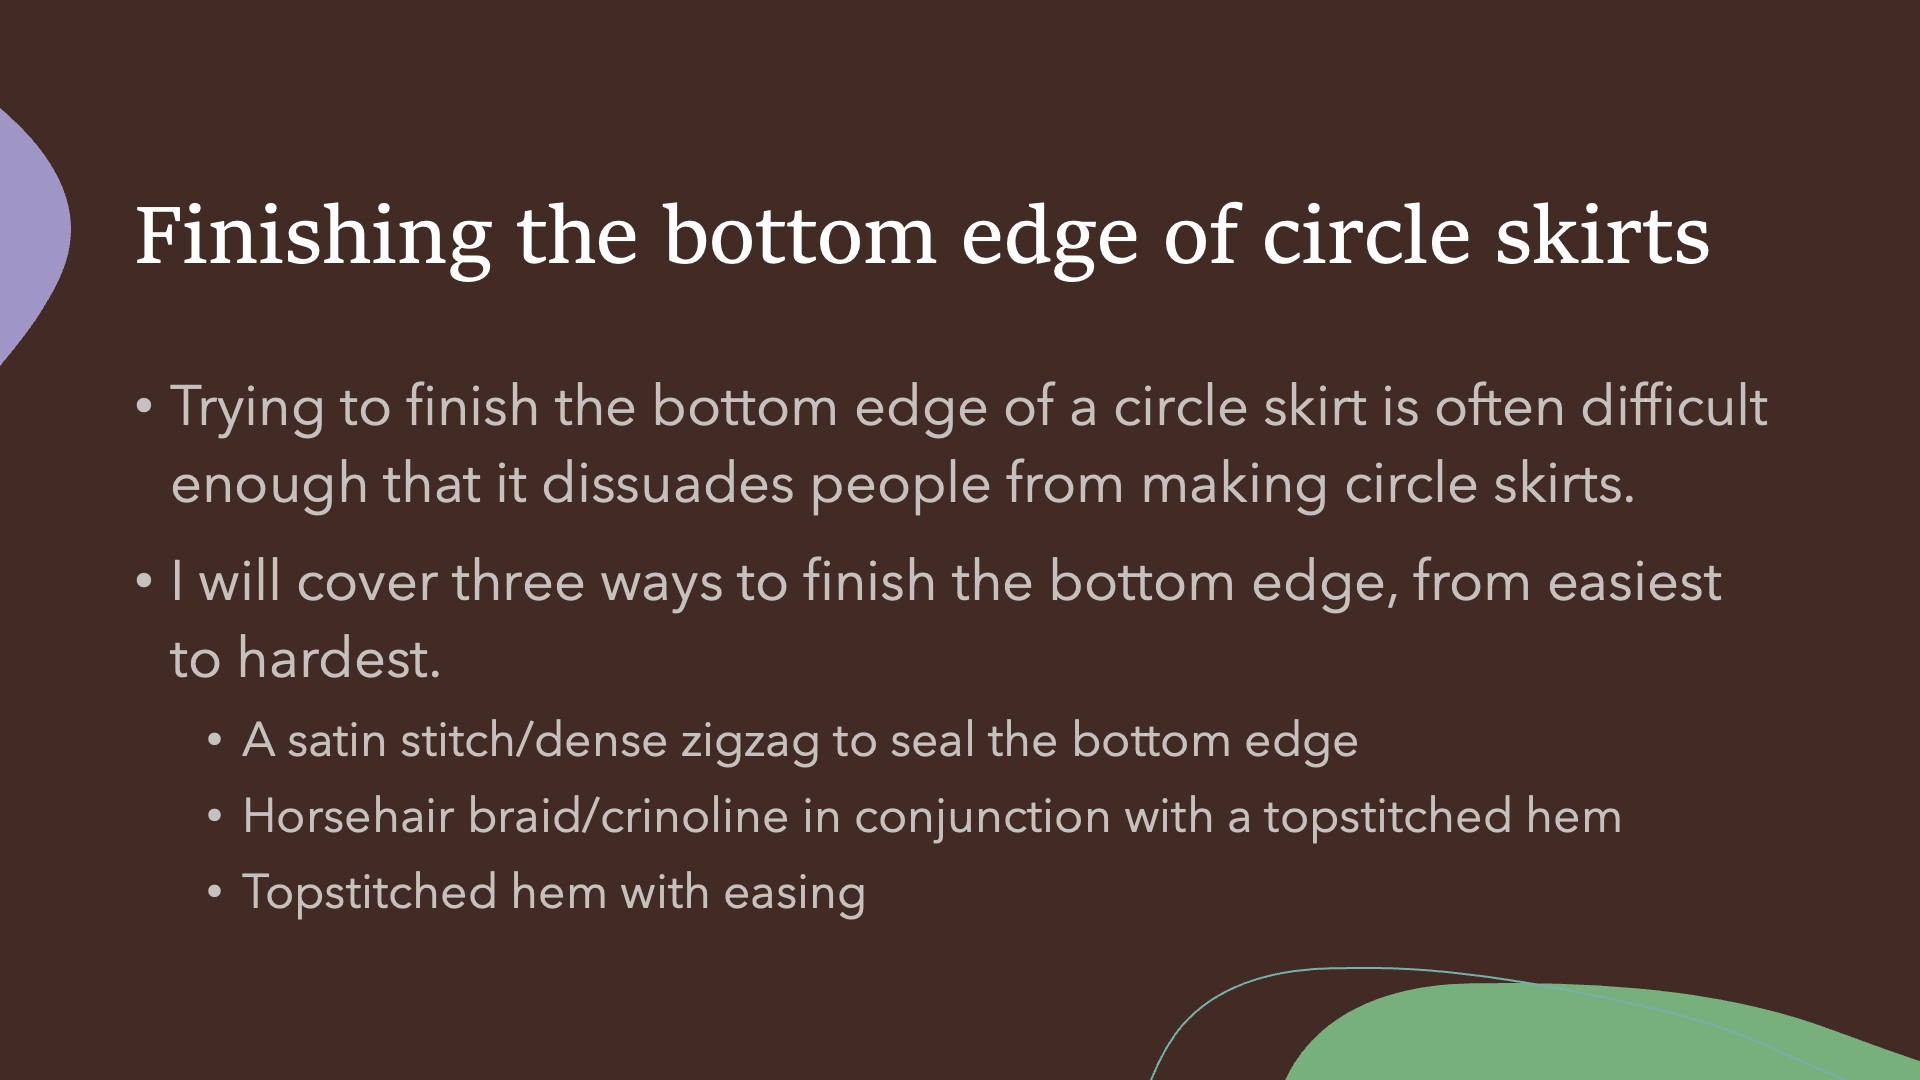 I have taught these three techniques to many people to help them finish their skirts. I still cover the standard easing method, but there is a trick that makes it a lot easier to do.
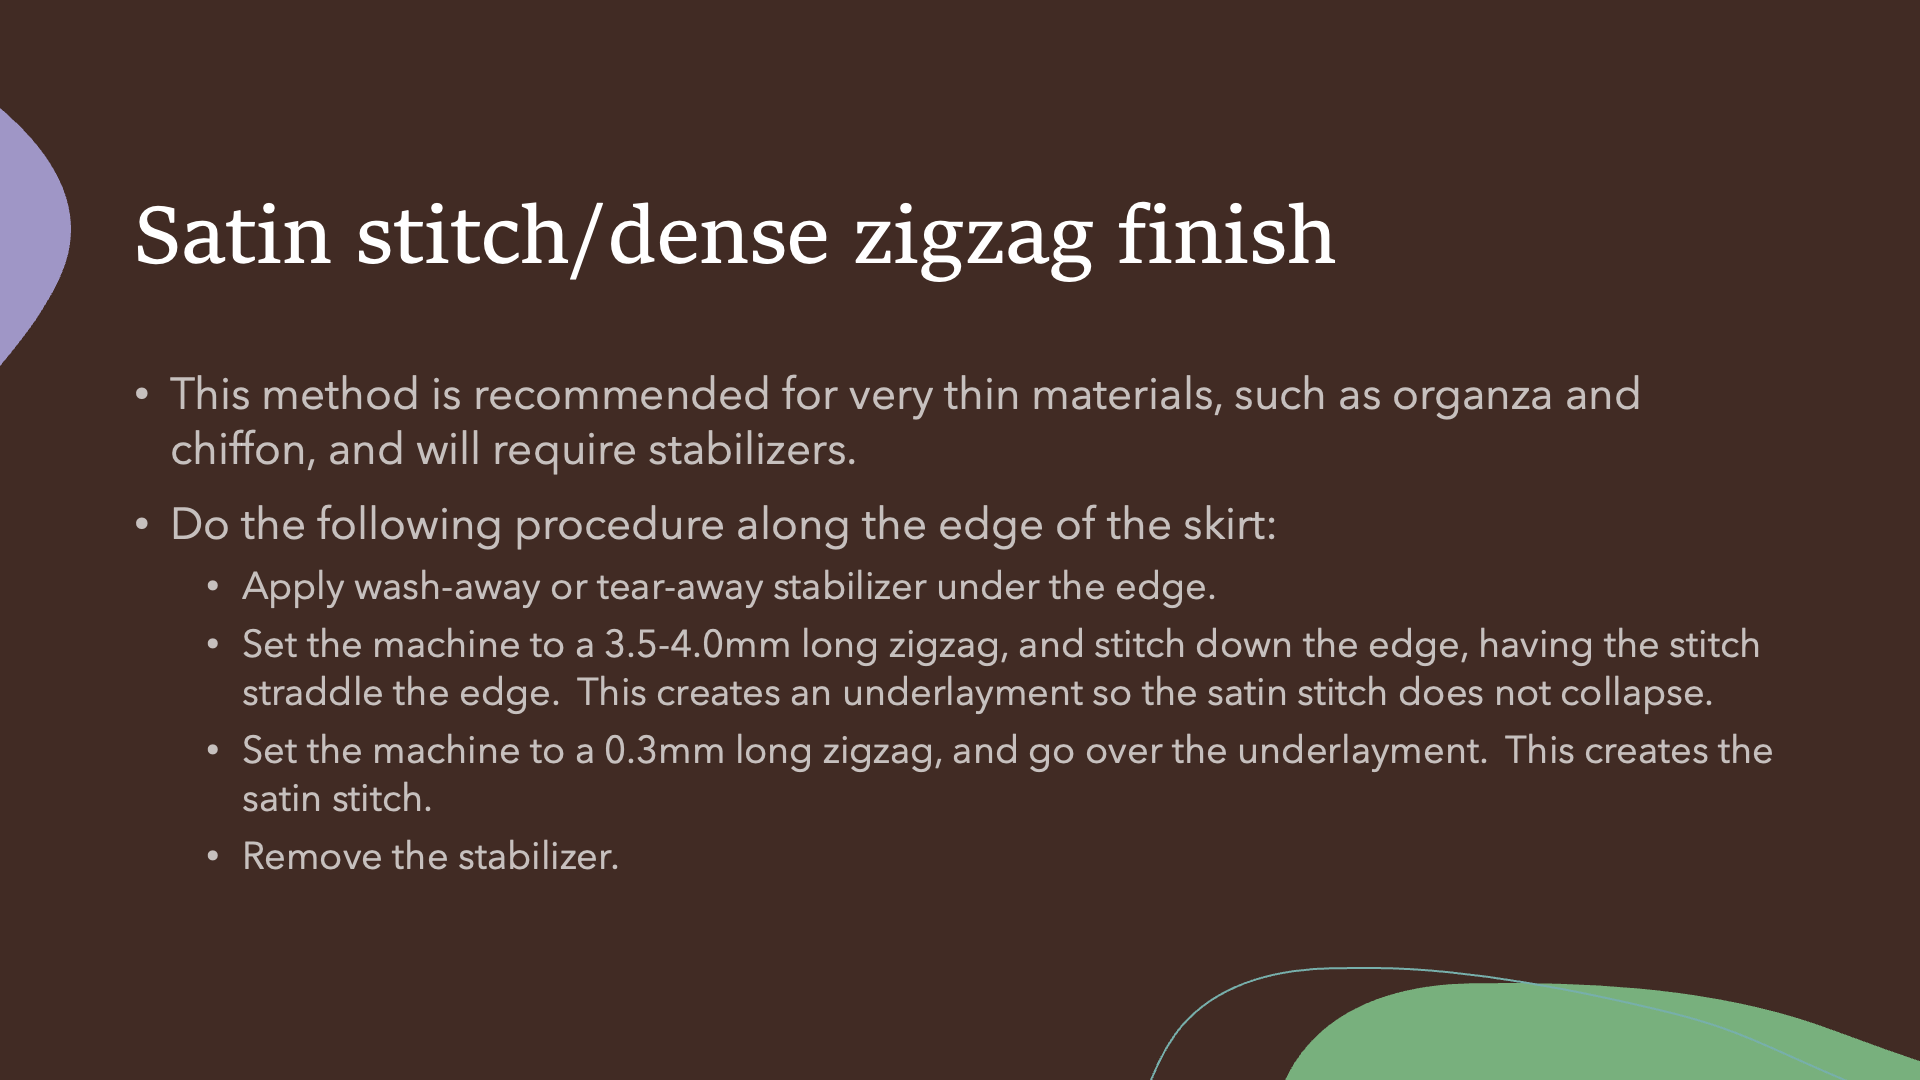 This is great for doing the edge of organza veils or overskirts. It's also great for things that are not circular, such as scallops. For simple edges, I'll just use my regular machine, but more complicated edges I'll use my embroidery machine.
 I think the fastest I have ever hemmed a skirt using horsehair braid is probably 10 minutes.
 This is the typical method, see the next slide for the trick to make this easier.
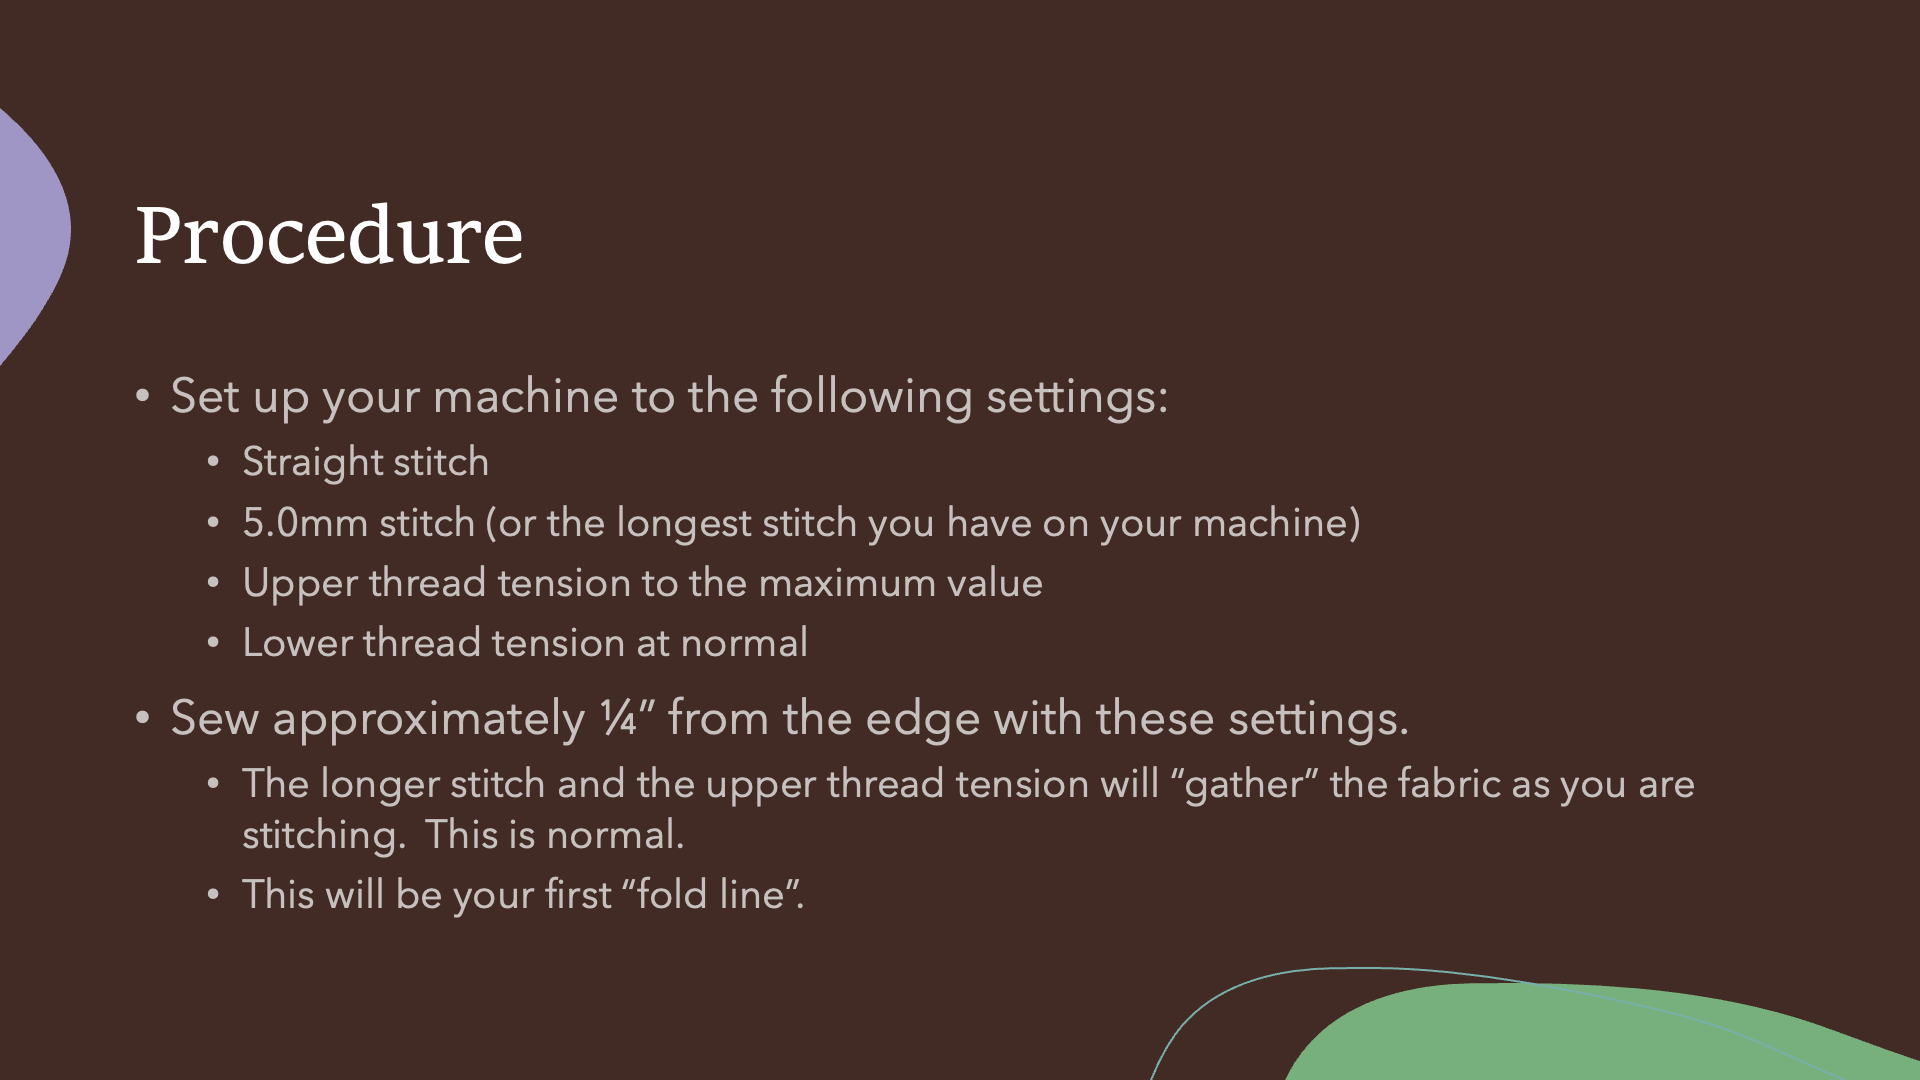 This trick exploits the fact that fabric will pucker/gather under increased upper thread tension. If your machine does not have a upper thread tension adjustment, you can put your thread on a spool and put it through multiple guides; that will increase the tension on the thread. I do not recommend increasing the lower thread tension for this unless if you know what you are doing, as the bobbin has a greater range of tension adjustment, but it is much easier to mess up.
 Once you gather it using the tension trick, you then follow the standard instructions of folding over the fold and ironing as you go. Once you do the first fold, the second fold is much easier.
 There are a lot of things that are given in sewing instructions that people are often asked to take on faith, and this section explains exactly why the instructions are done this way.
 As I mentioned before, I always hang the skirt just because it's late in the evening when I get to this point. There is no harm, no foul in doing it.
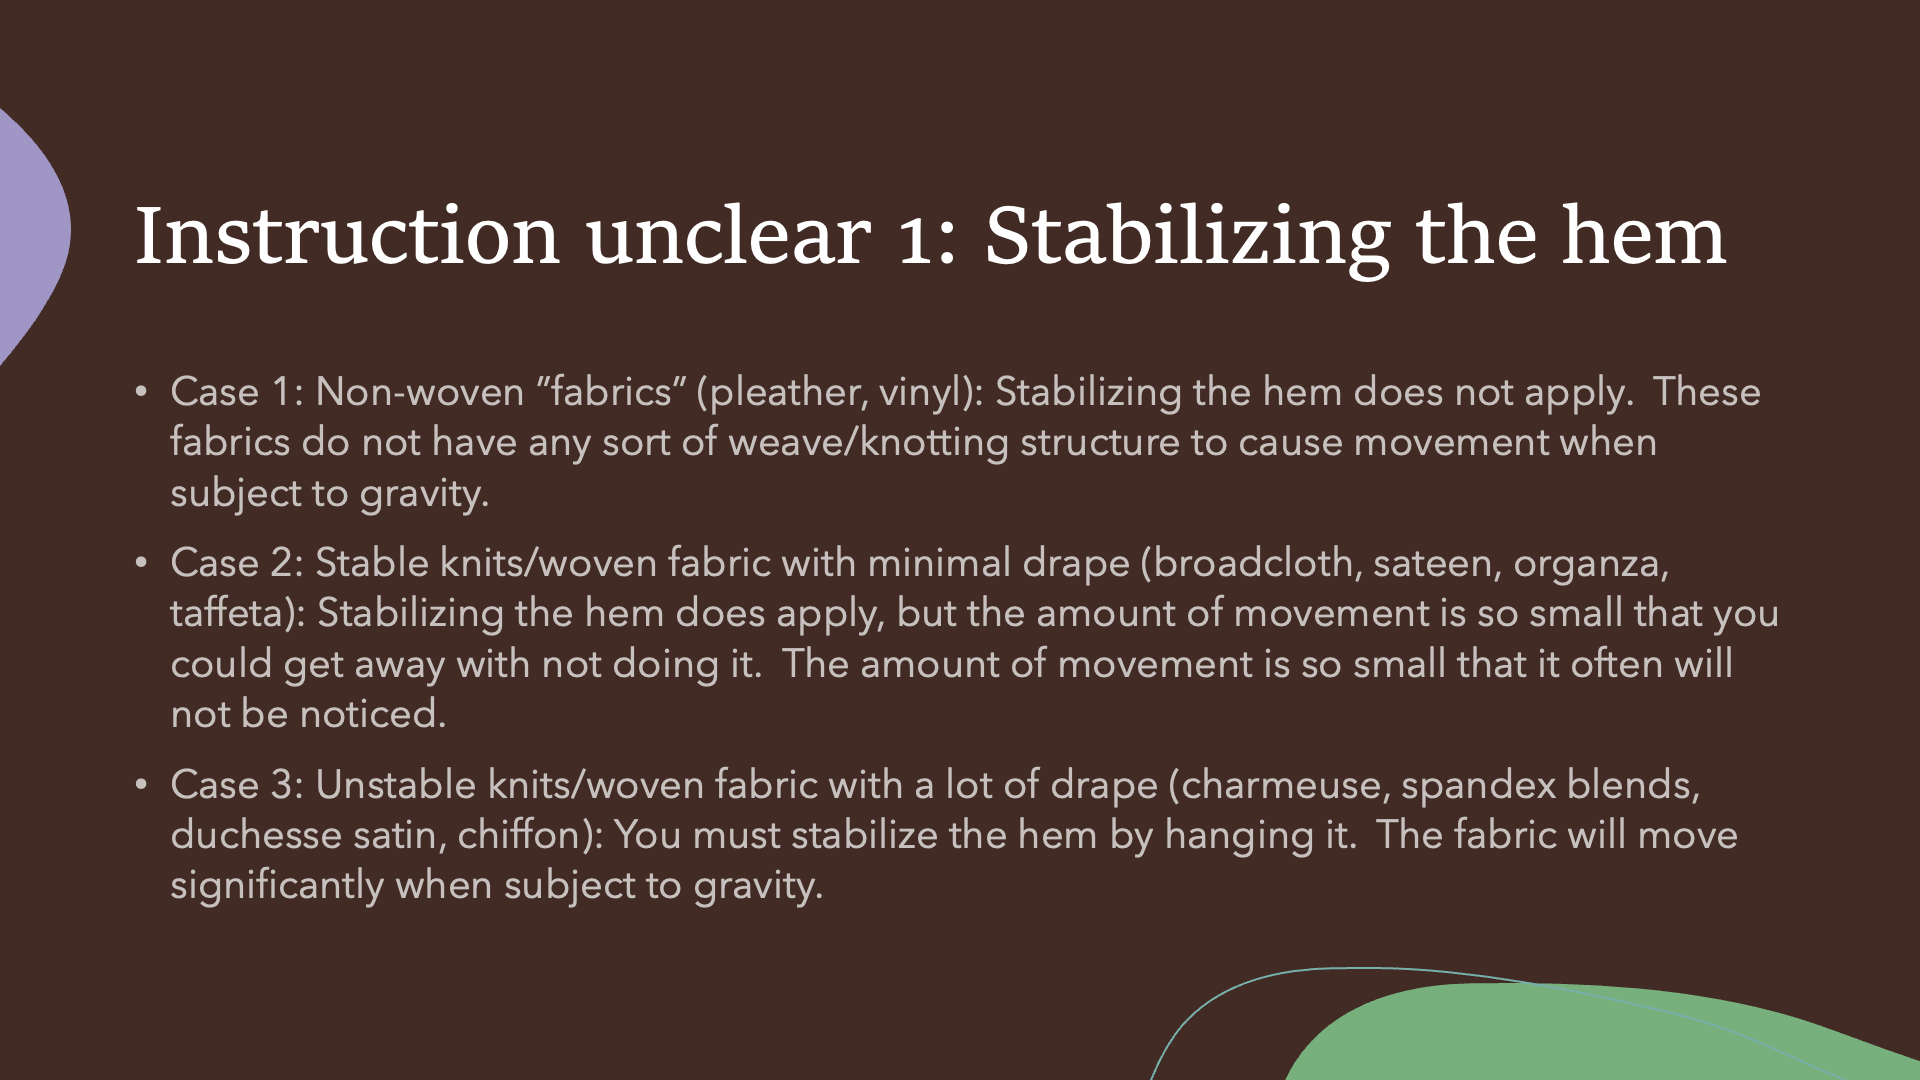 I have worked with all three cases. Case 2 is VERY difficult to look for without violating someone's personal space.
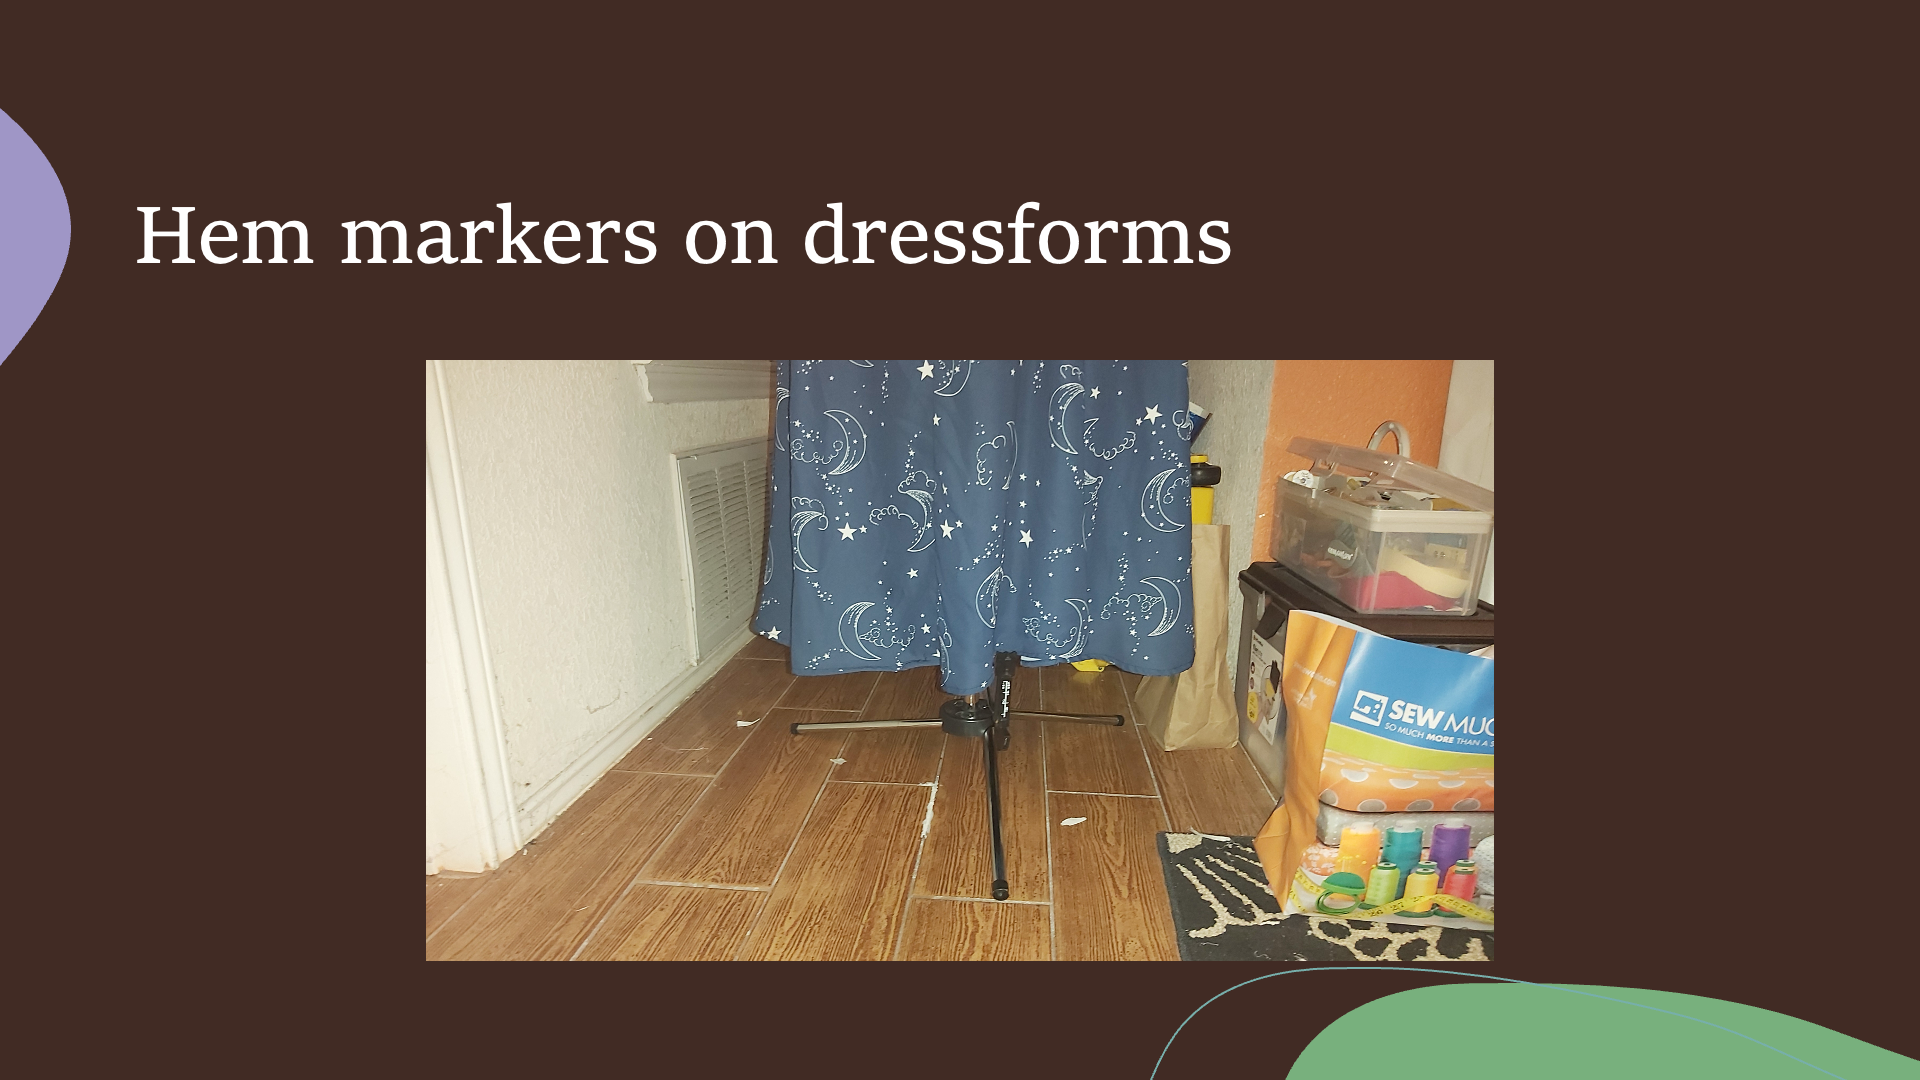 These hem markers are designed to help you mark a skirt after it has been hung overnight and you need the skirt to be uniformly long. In this example, I am modifying a friend's skirt to a different length, and it has to be restabilized as it is made of an unstable knit. You will snap the skirt into the little jaw that is adjustable by height, and use the hole to mark the correct length.
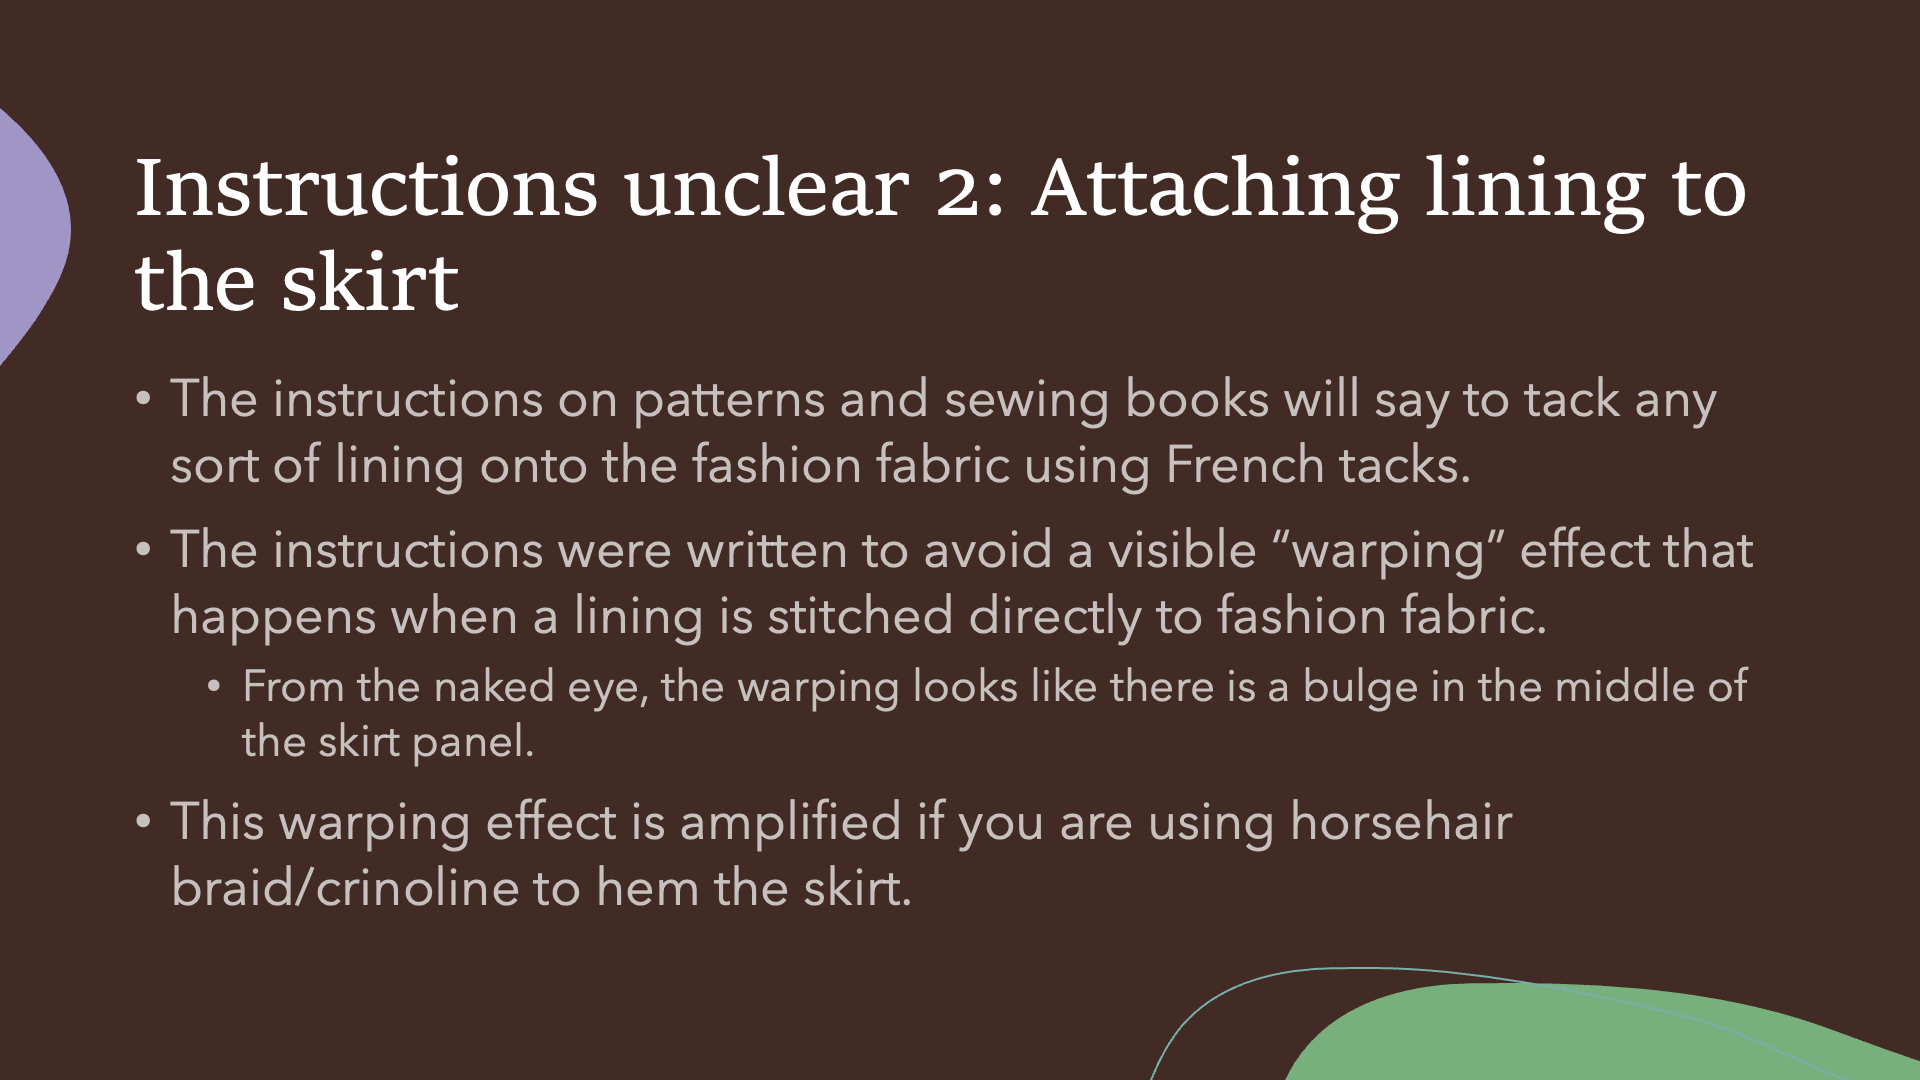 Every time I do a build book for a costume contest with a circle skirt that requires me to do a lining, I have to explain the contents of this slide and the next slide to many judging panels. The "use French tacks" instruction is parroted so often without explaining why it has to be done this way.
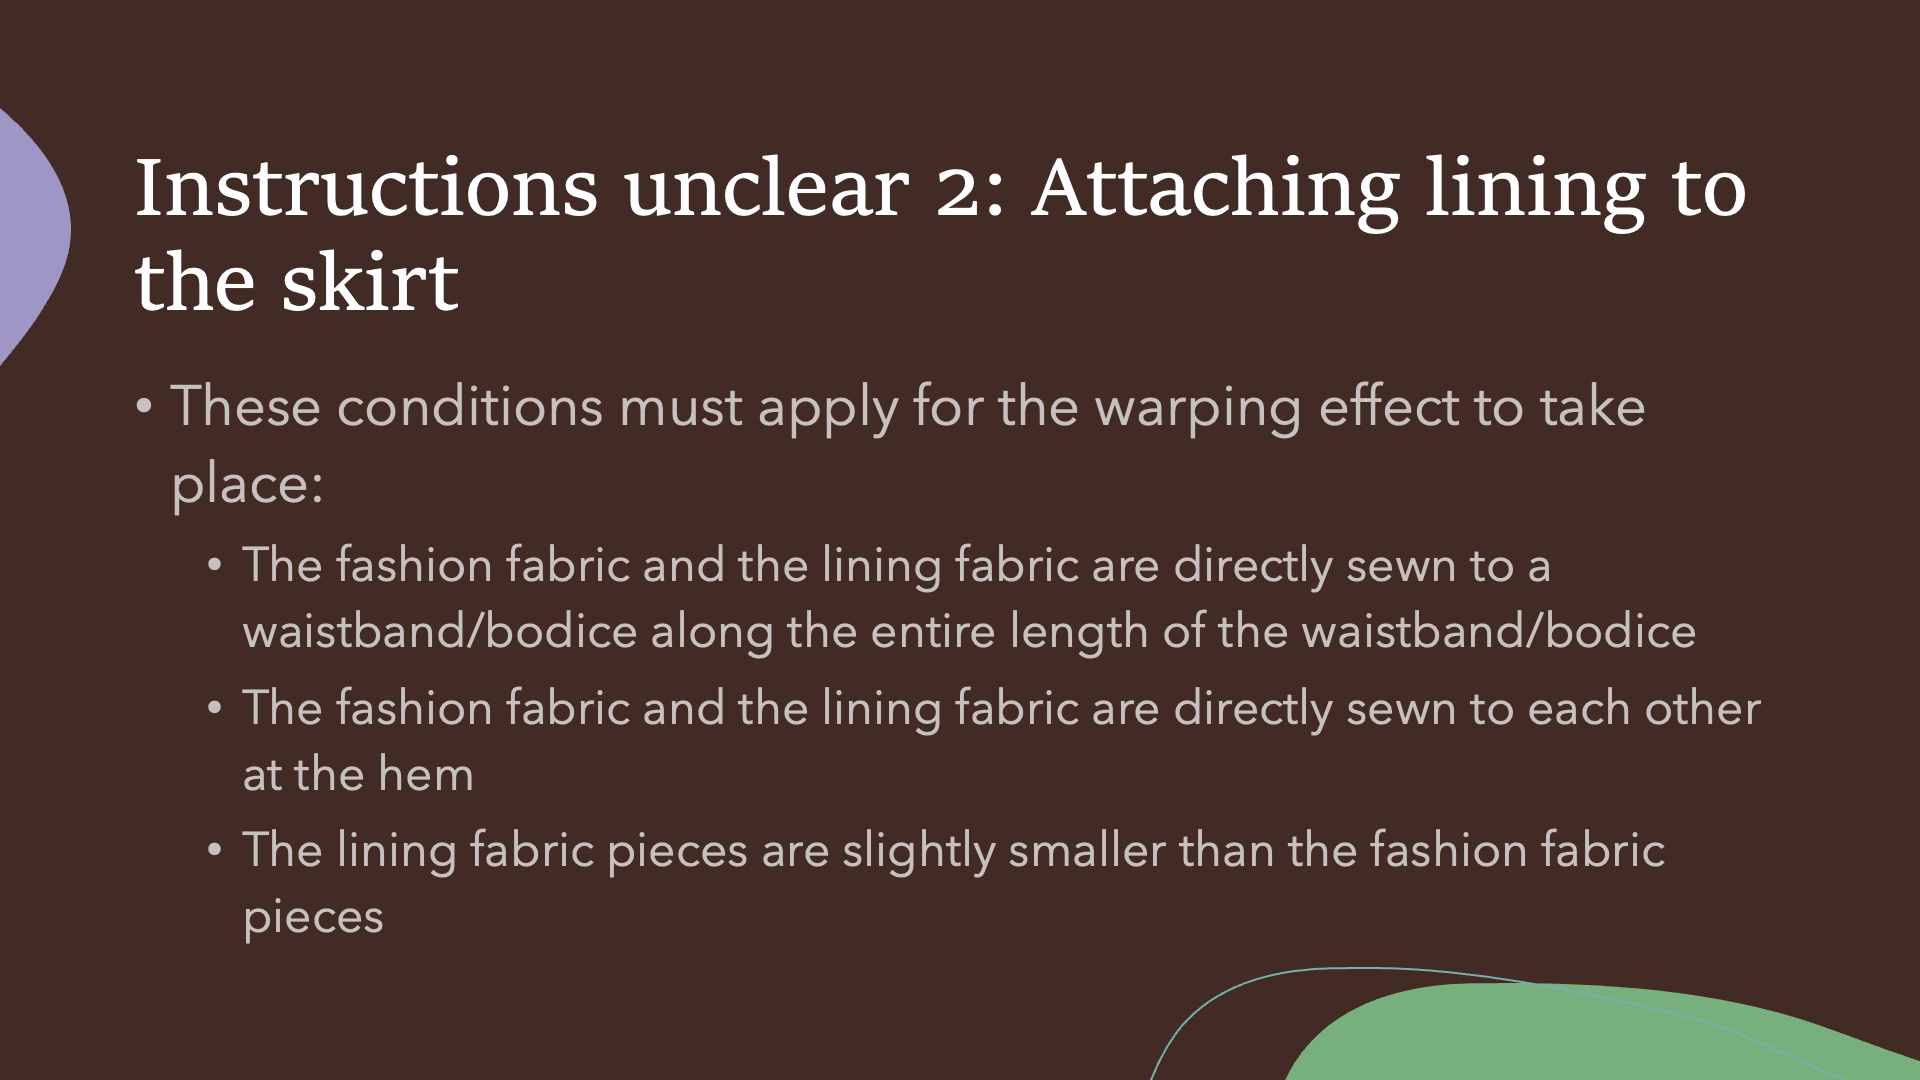 The use of French tacks eliminates one of these three conditions.
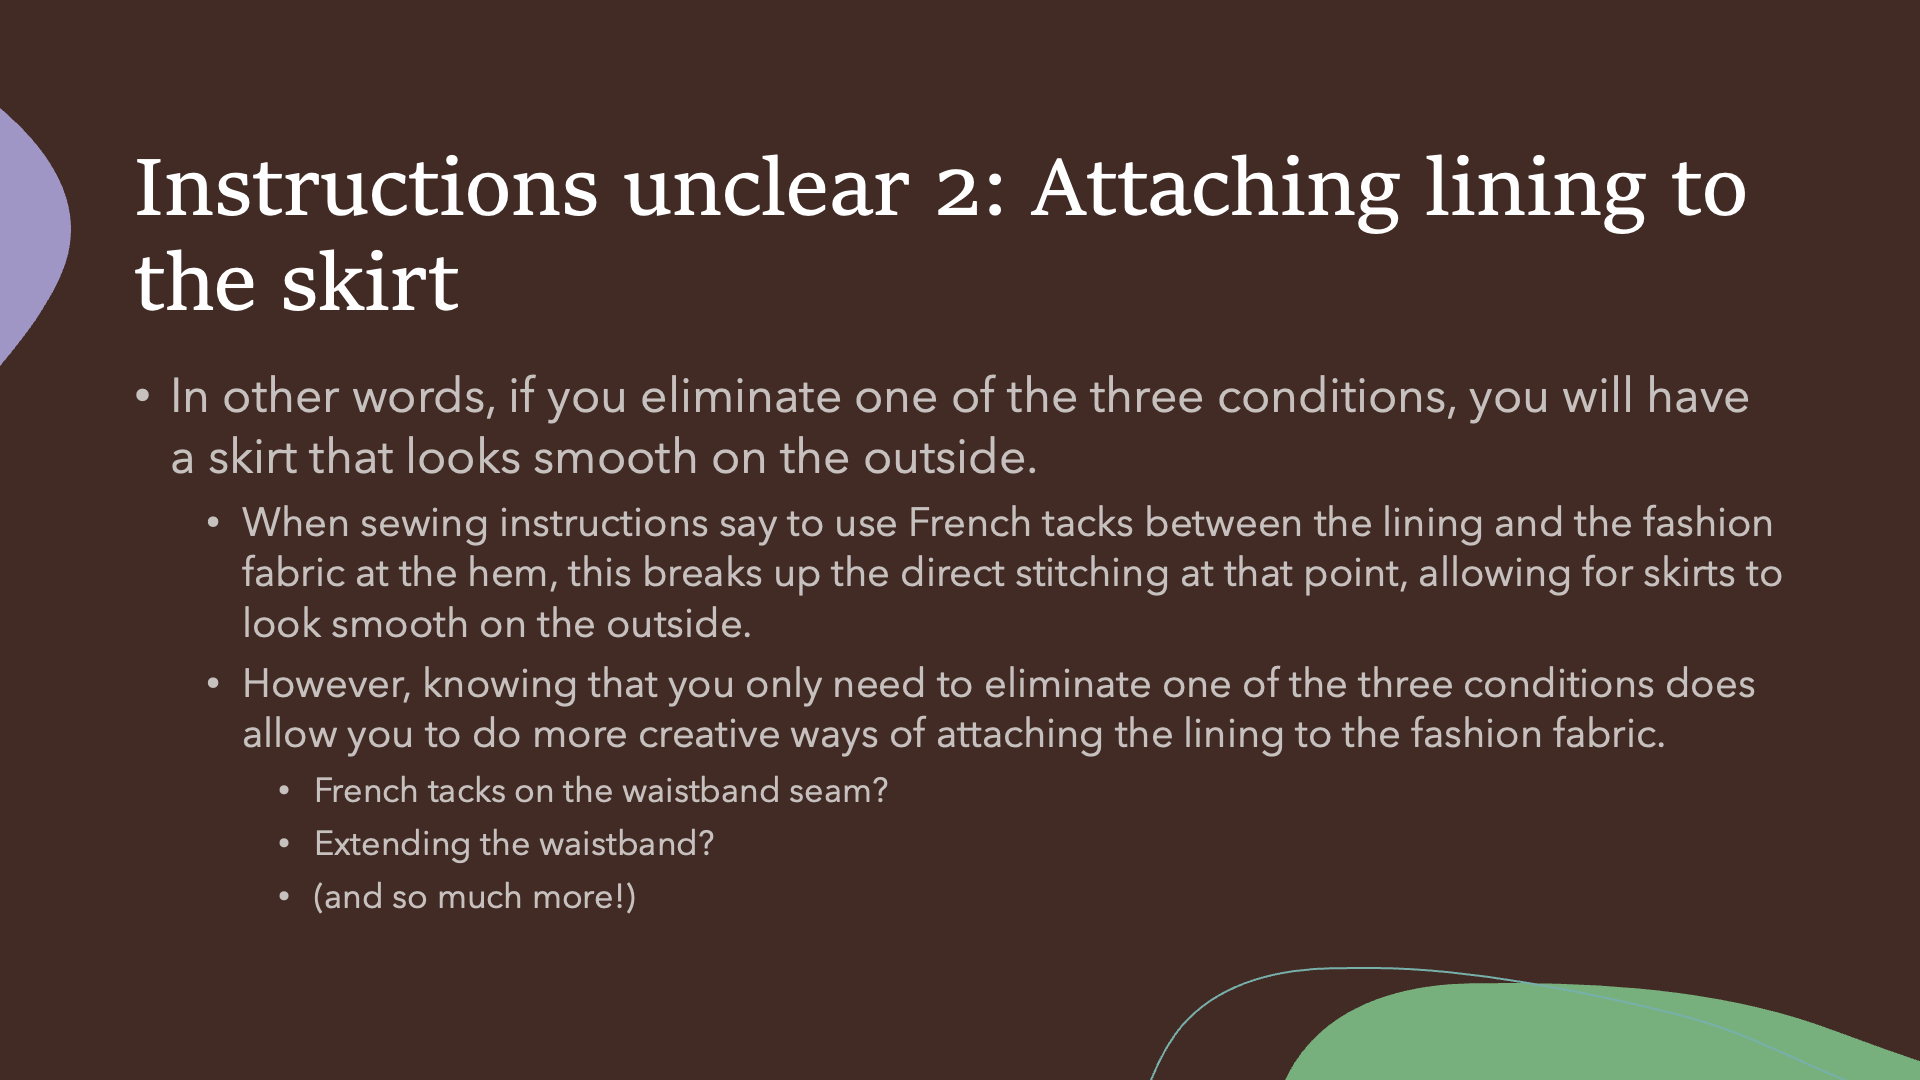 I have had multiple dresses where I've had to attach the lining securely to the lower edge of the dress. My favorite trick of the ones I listed here is to extend the waistband on the lining side, which is stronger than doing the tacks on the waistband.
 I show some examples of various circle skirts that I have done.
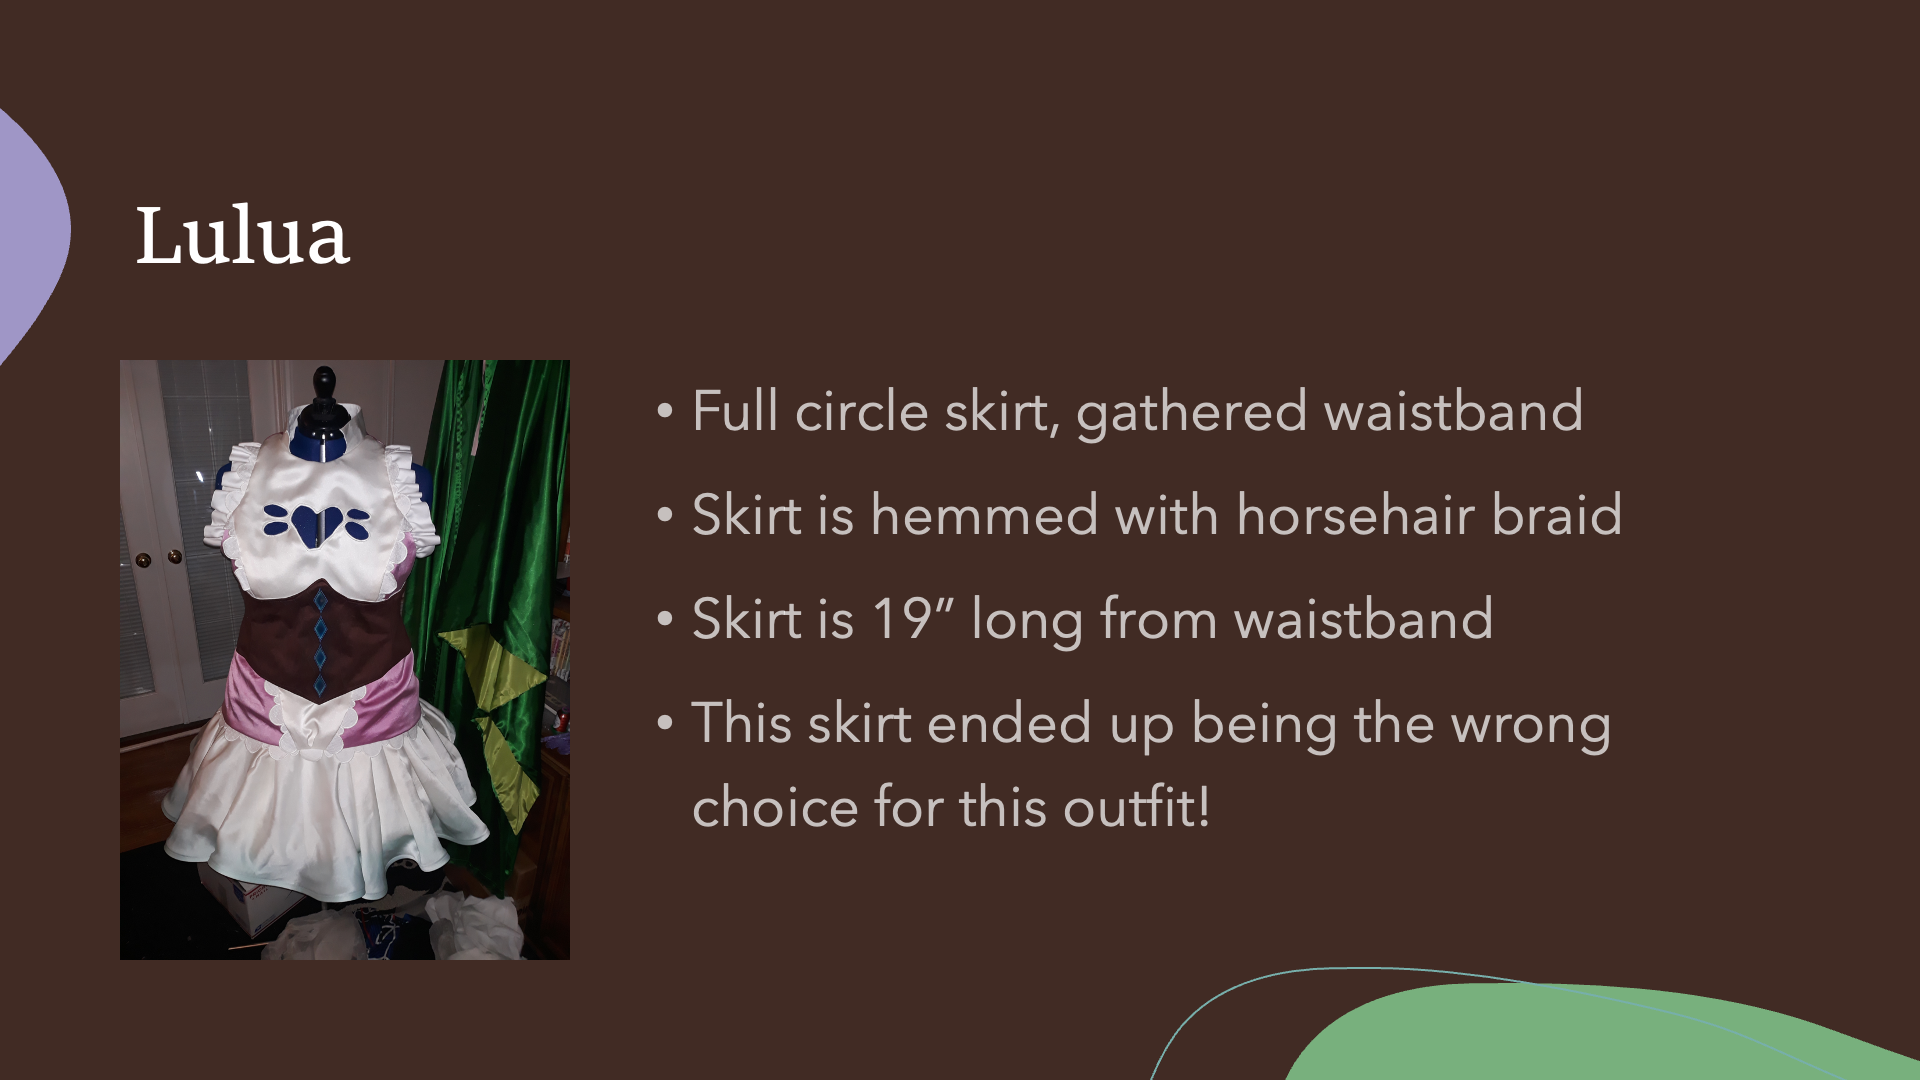 This is an example of where the circle skirt is not the correct solution for this costume. I later ditched the circle skirt and used a gathered skirt instead.
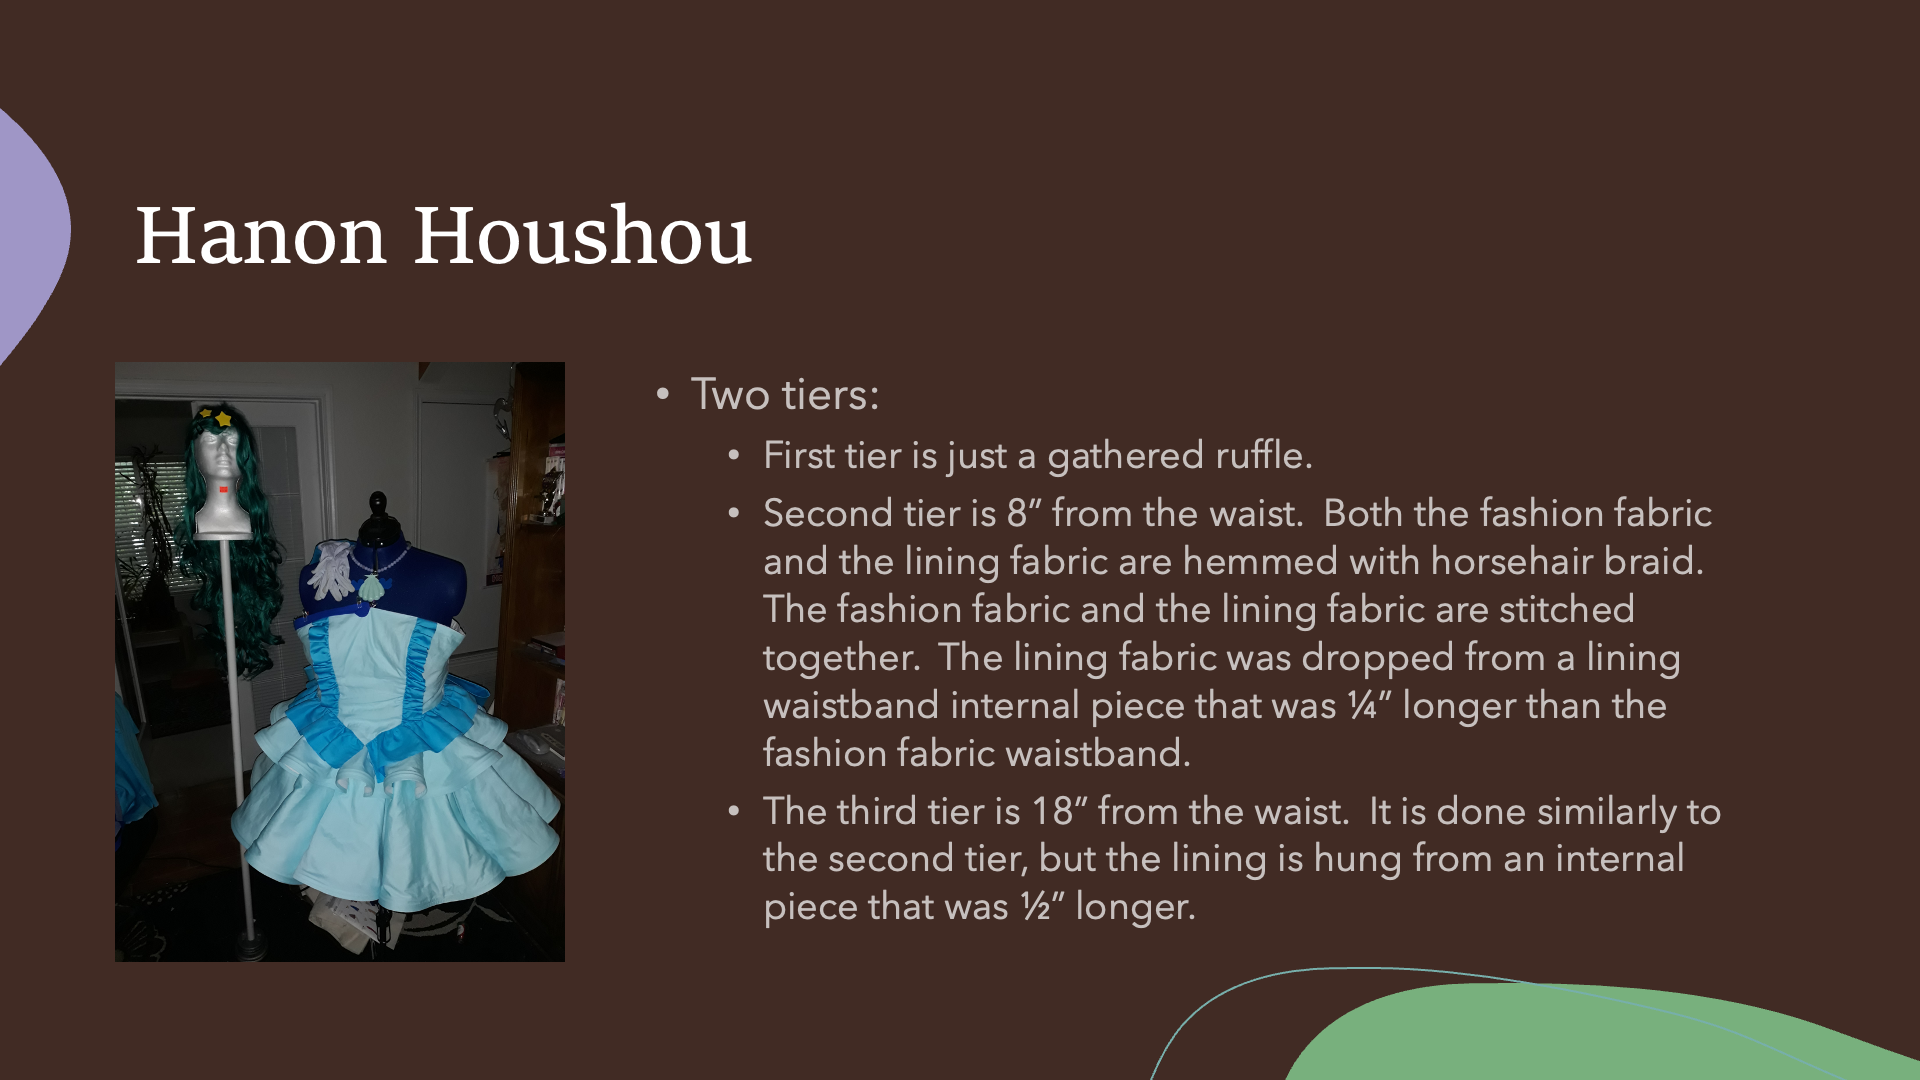 A lot of my circle skirts are in tiers, and Hanon's dress is one of the best examples of that. You do see a little bit of the warping I was talking about earlier; at the point when this photograph was taken, I needed to do some fine-tuning of where the waistband lining and skirt lining was attached. This dress used my waistband extension technique, which was complicated by the geometry of the bodice itself.
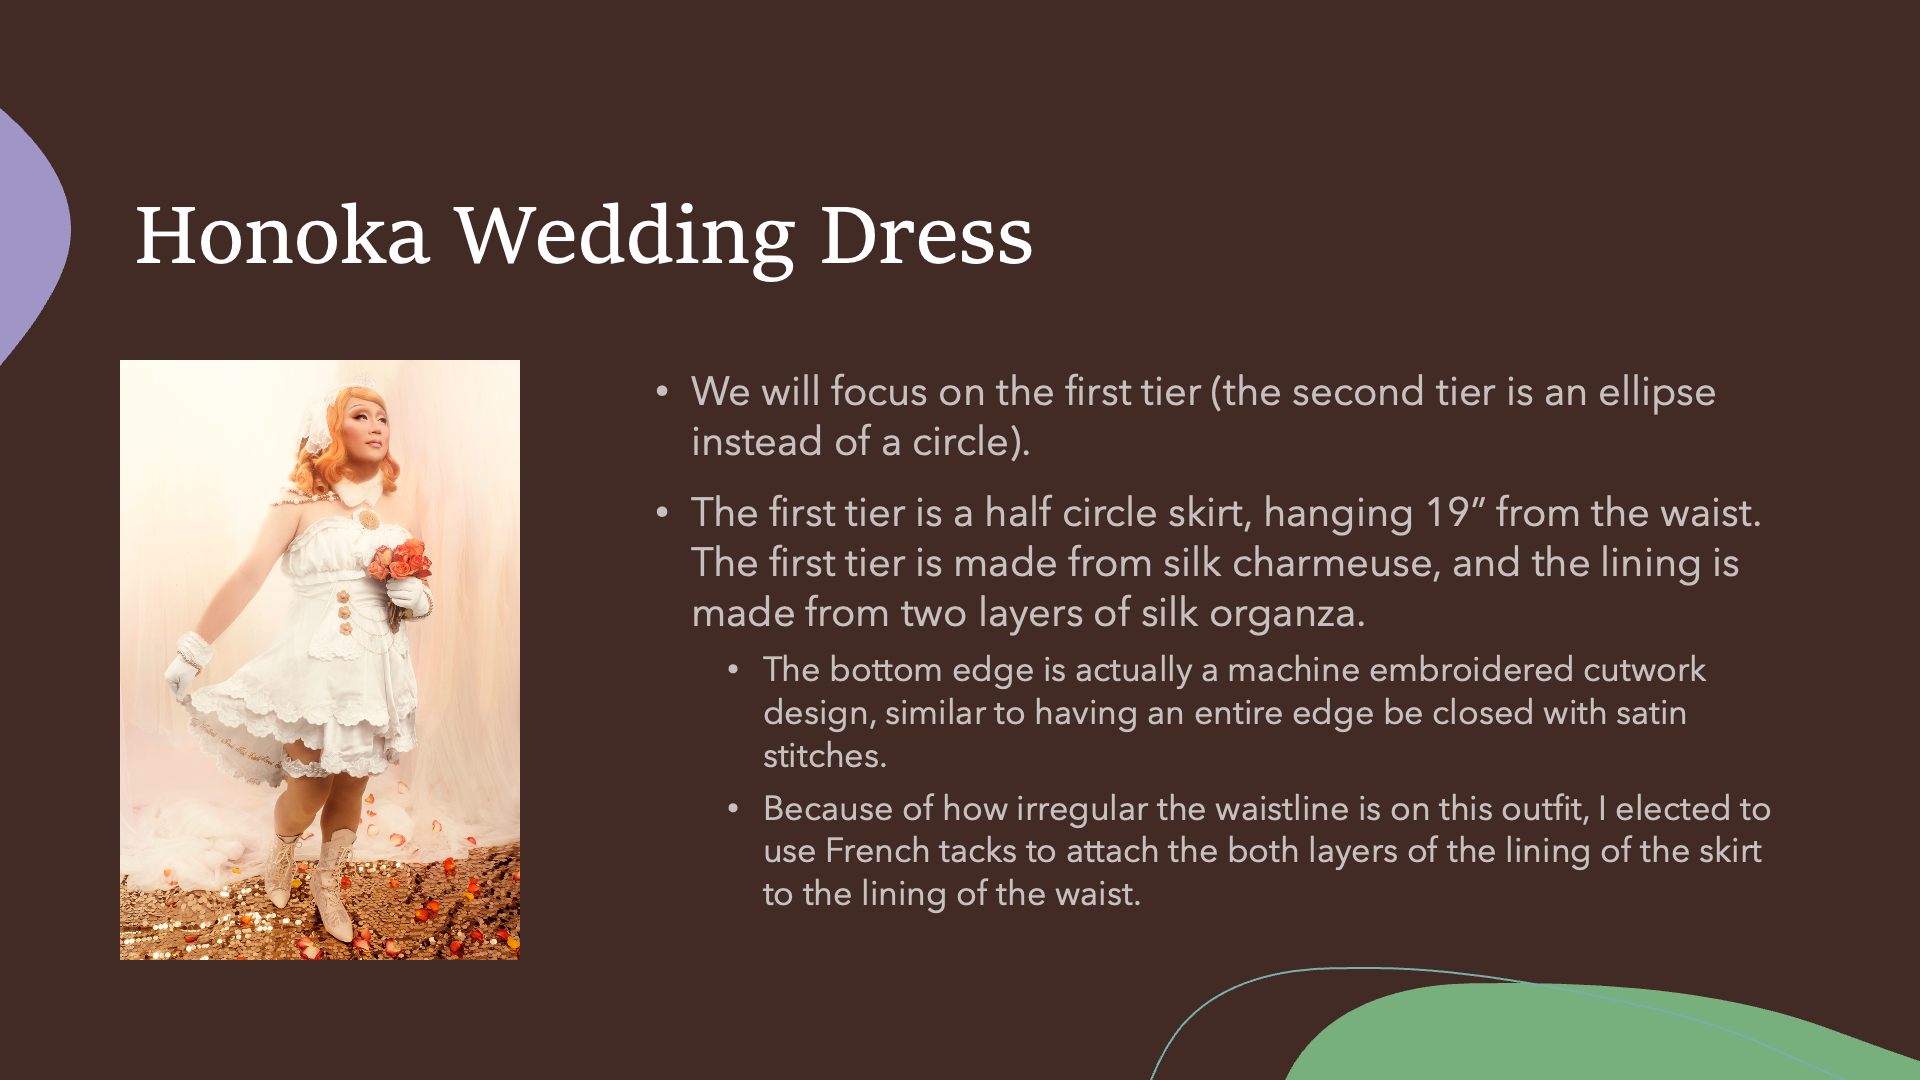 This dress is an example of using an embroidery machine to finish off raw edges. Because I had to do this and catch the lining at the same time, with this dress I chose to use French tacks on the waistline.
 I gave a lot of information in this panel, but a lot of it can be found in other literature. I posted these two conclusion points for what people should take away from the panel that you cannot get elsewhere.
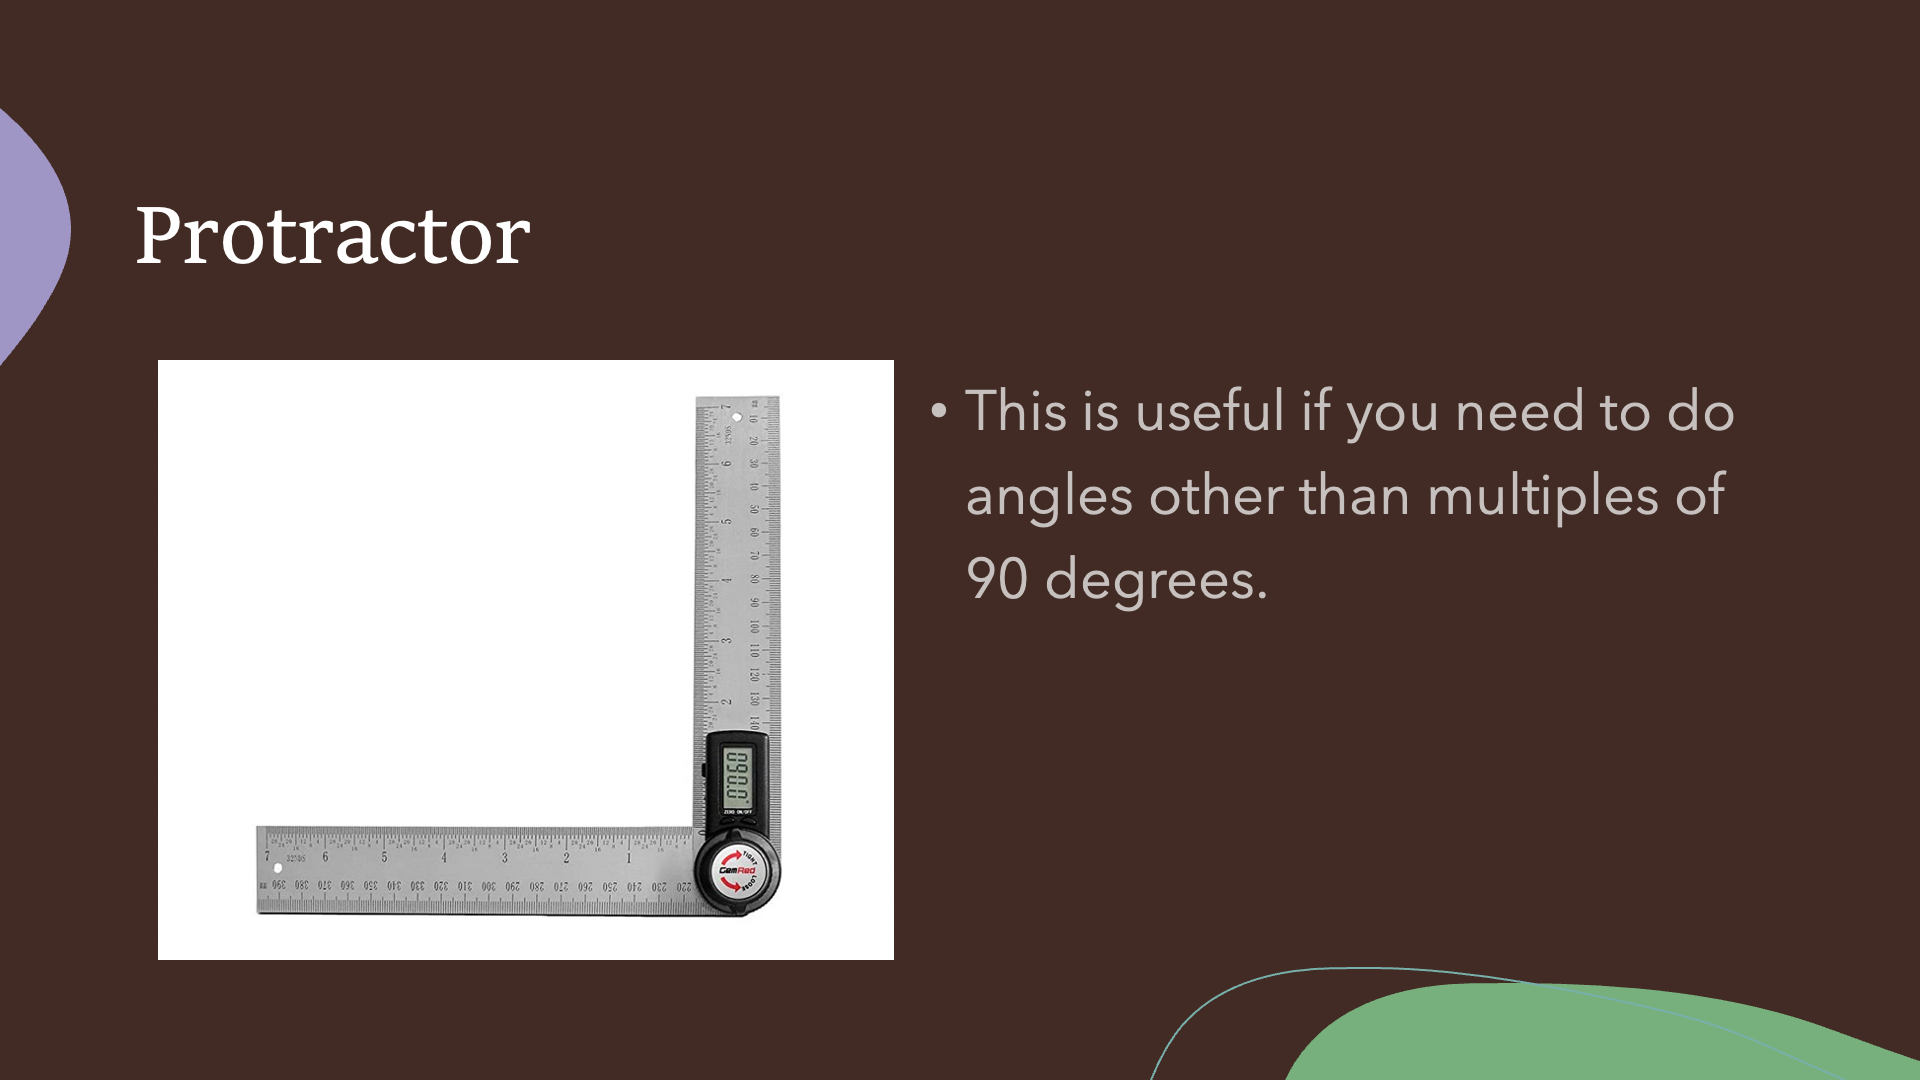 Please do not use a dinky protractor (the one that looks like a half circle that you use in school) that does not look like this. Angular errors tend to get magnified the longer the skirt, and that will ruin your measurements. These electronic protractors cost about $50 for a good one, hence I did not specifically cover doing anything other than a multiple of a 90 degree angle.
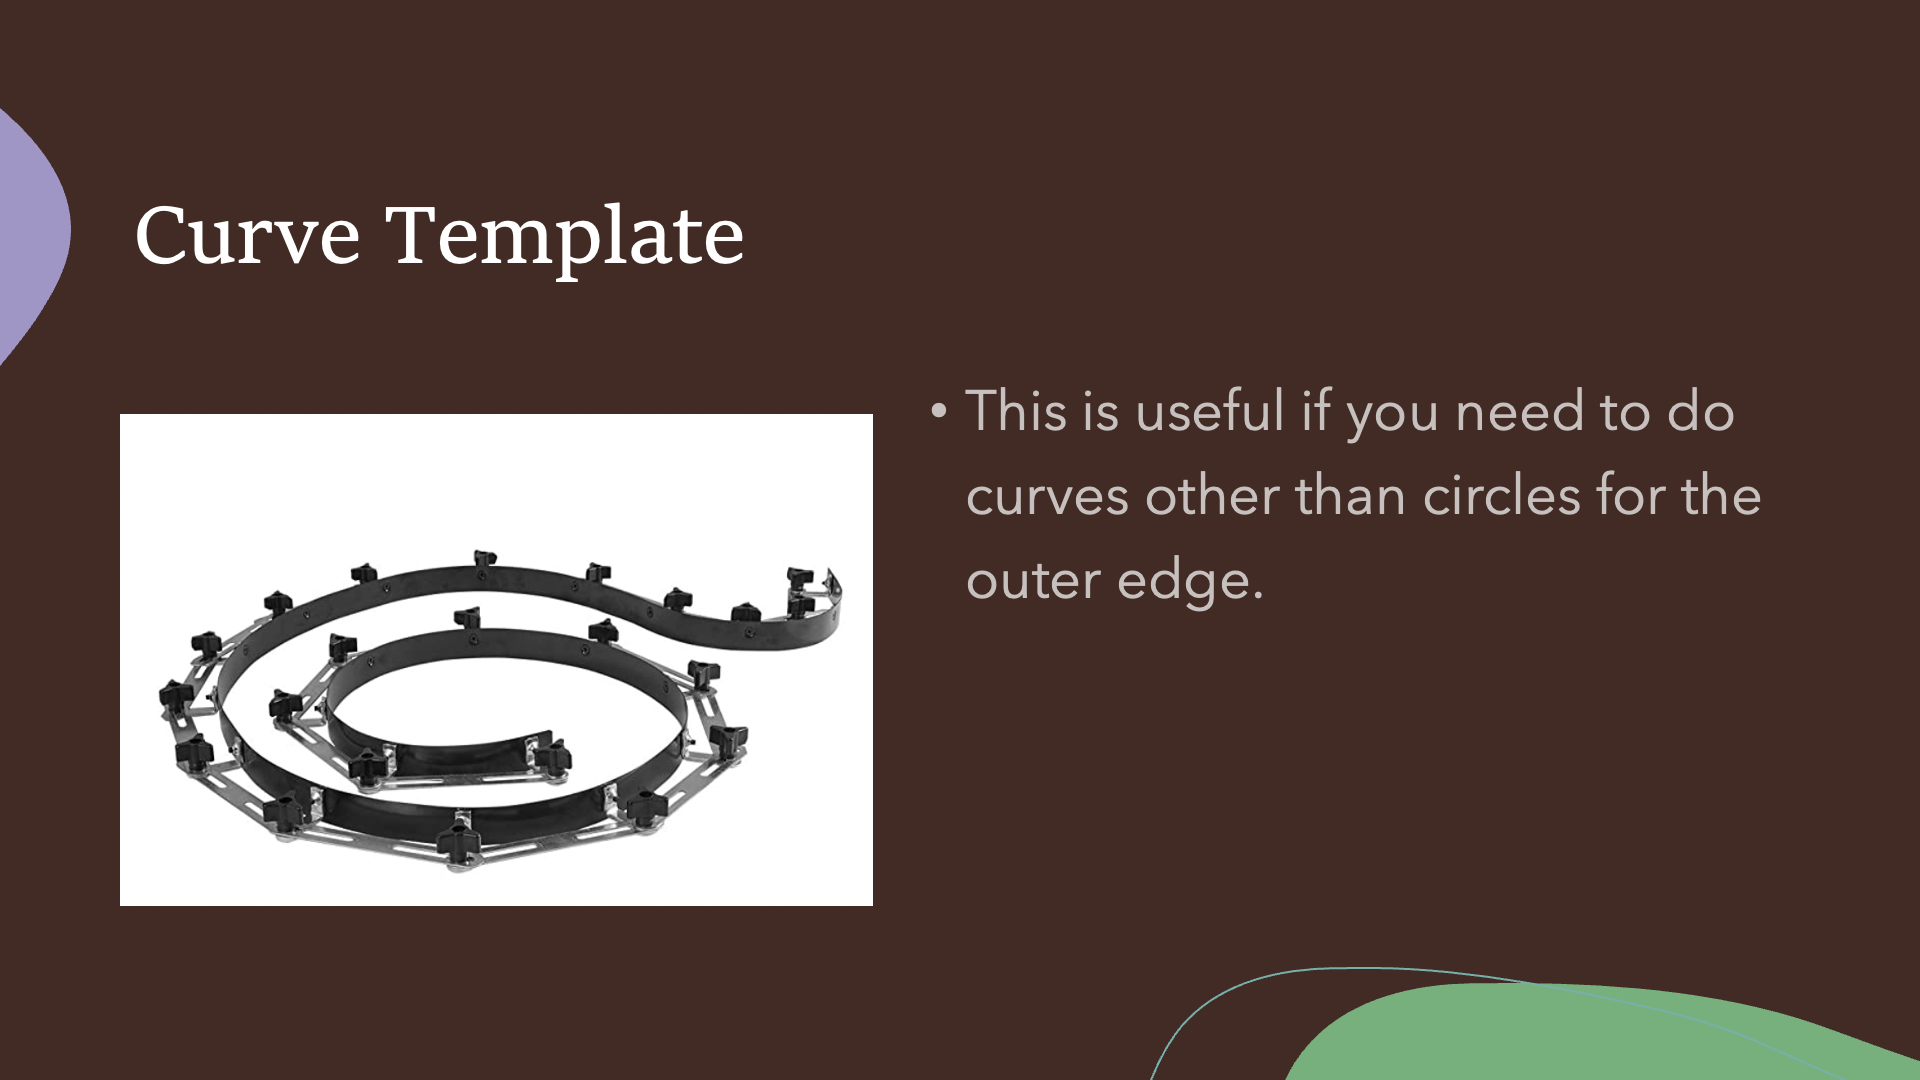 These are great if you are doing irregular shapes on the hem side. Again, a good set does cost quite a bit of money, and the cheap ones don't hold up.
Leave a Reply